Learn how to make sushi rice at home that turns out perfect every single time! You are only a few steps away from perfect sushi rice and, thus, delicious homemade sushi rolls!
It is indeed a little challenging to make sushi rice perfectly, but the good news is, it can be learned. With a few tips and this detailed homemade sushi rice recipe, including step-by-step pictures, you will master this Japanese art! I believe in you!
I have been making homemade sushi for years and have perfected the rice preparation over time! From too hard, too mushy, and other fails – I have experienced them all.
But today, my sushi rice turns out perfectly every single time! Let me show you how YOU can master it too, and start enjoying delicious homemade sushi rolls!
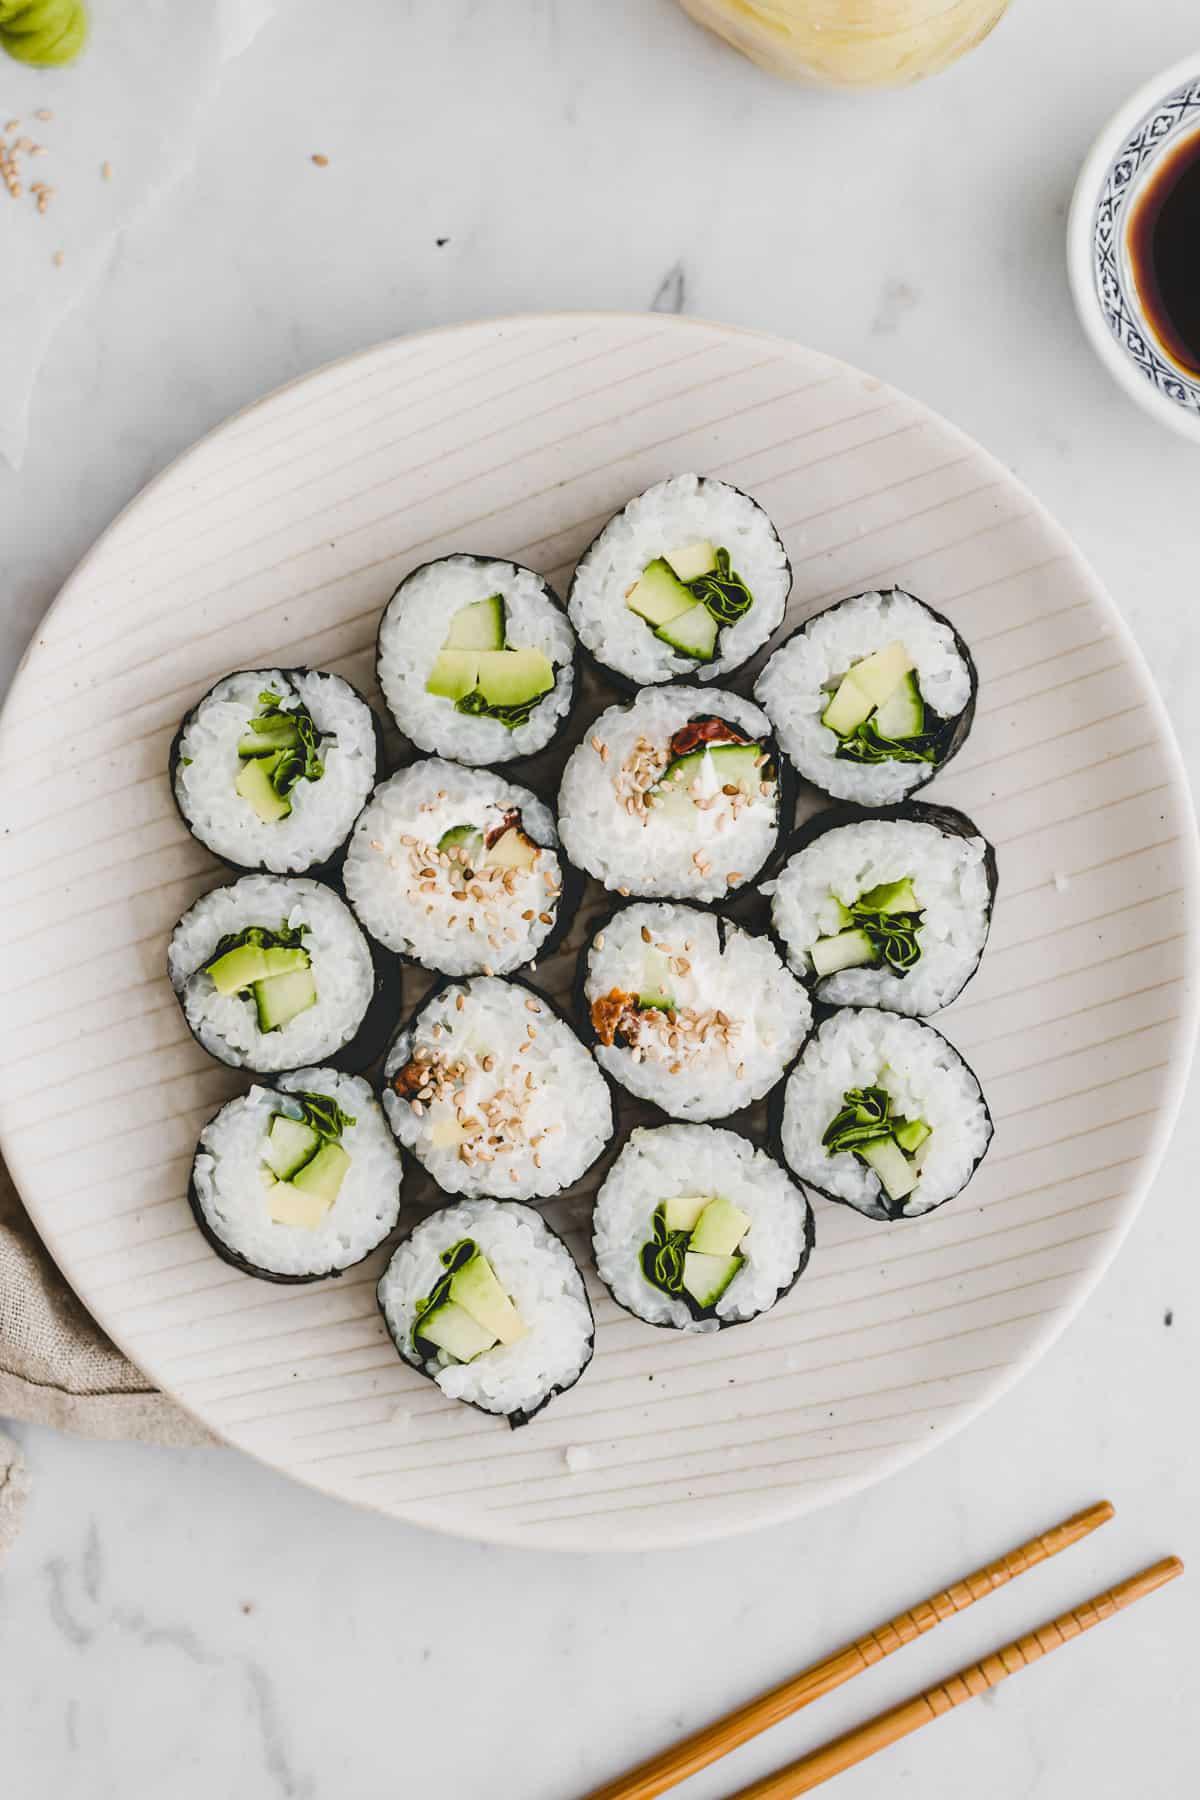
The rice turns out soft yet with a firm bite and sticky enough to turn it into a pretty homemade sushi roll or nigiri. You can use this recipe for homemade vegan sushi or use it for your favorite sushi recipe! It also tastes incredibly delicious with this poke bowl!
Rice Cooker vs Stovetop
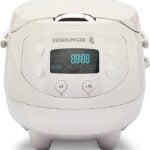
If you are inexperienced with cooking sushi rice, I highly recommend using the rice cooker method! It’s easier than the stovetop method and leaves less room for error. So, a rice cooker is your first step towards perfect sushi rice.
Rice Cooker Recommendation

I absolutely love my digital mini rice cookier – it's a loyal companion in my kitchen and perfect for smaller households with 2 people. Got a bigger family? This larger rice cooker is your best bet.
Experienced cooks can use the stovetop method. It’s a bit trickier and leaves more room for error, but with a little experience, it will taste as good as at your preferred sushi restaurant.
Be aware that the rice-water ratio is different for both methods:
Rice Cooker Ratio: 1:1.25 → 1 Cup of Rice + 1.25 Cups of Water
Pot Ratio: 1:1.1 → 1 Cup of Rice + 1.1 Cups of Water
Best Rice For Sushi
Short-grain white Japanese rice or medium-grain Californian rice is the one you are looking for if you wish to get that typical soft yet sticky sushi rice texture. Outside of Japan, the bag is usually labeled with “sushi rice”. You can get it in your local grocery store within the Asian aisle or in a dedicated Asian shop. Later offers large bags at a more affordable price.
Keep your hands off all other types of rice! It doesn’t work with basmati or jasmine rice.
Sushi Vinegar Seasoning
Sushi rice has a slightly sweet-sour aroma that comes from a seasoning mixture made with rice vinegar, sugar, and salt. Those three ingredients are cooked in a saucepan, and as soon as the sugar is fully dissolved, it’s poured over the cooked rice for its dedicated flavor.
I recommend preparing the sushi vinegar seasoning at home. Ready-to-use mixtures, labeled as sushi vinegar, are available at almost any grocery store. However, those never taste as good as the homemade version.
email me this recipe 💌
How Much Rice Per Person
1 ½ cups (300g) uncooked rice is enough for about 4-5 thick California rolls or 7-8 medium Maki rolls. Depending on your appetite, this is enough for 2-4 people.
Calculate more generously if you are unsure about the amount of rice you need. Sushi rolls can be wrapped in plastic wrap, refrigerated, and served the next day. They taste almost as good as freshly made. Leftover rice can also be used to make poke bowls the next day.
Ingredients
See recipe card for quantities.
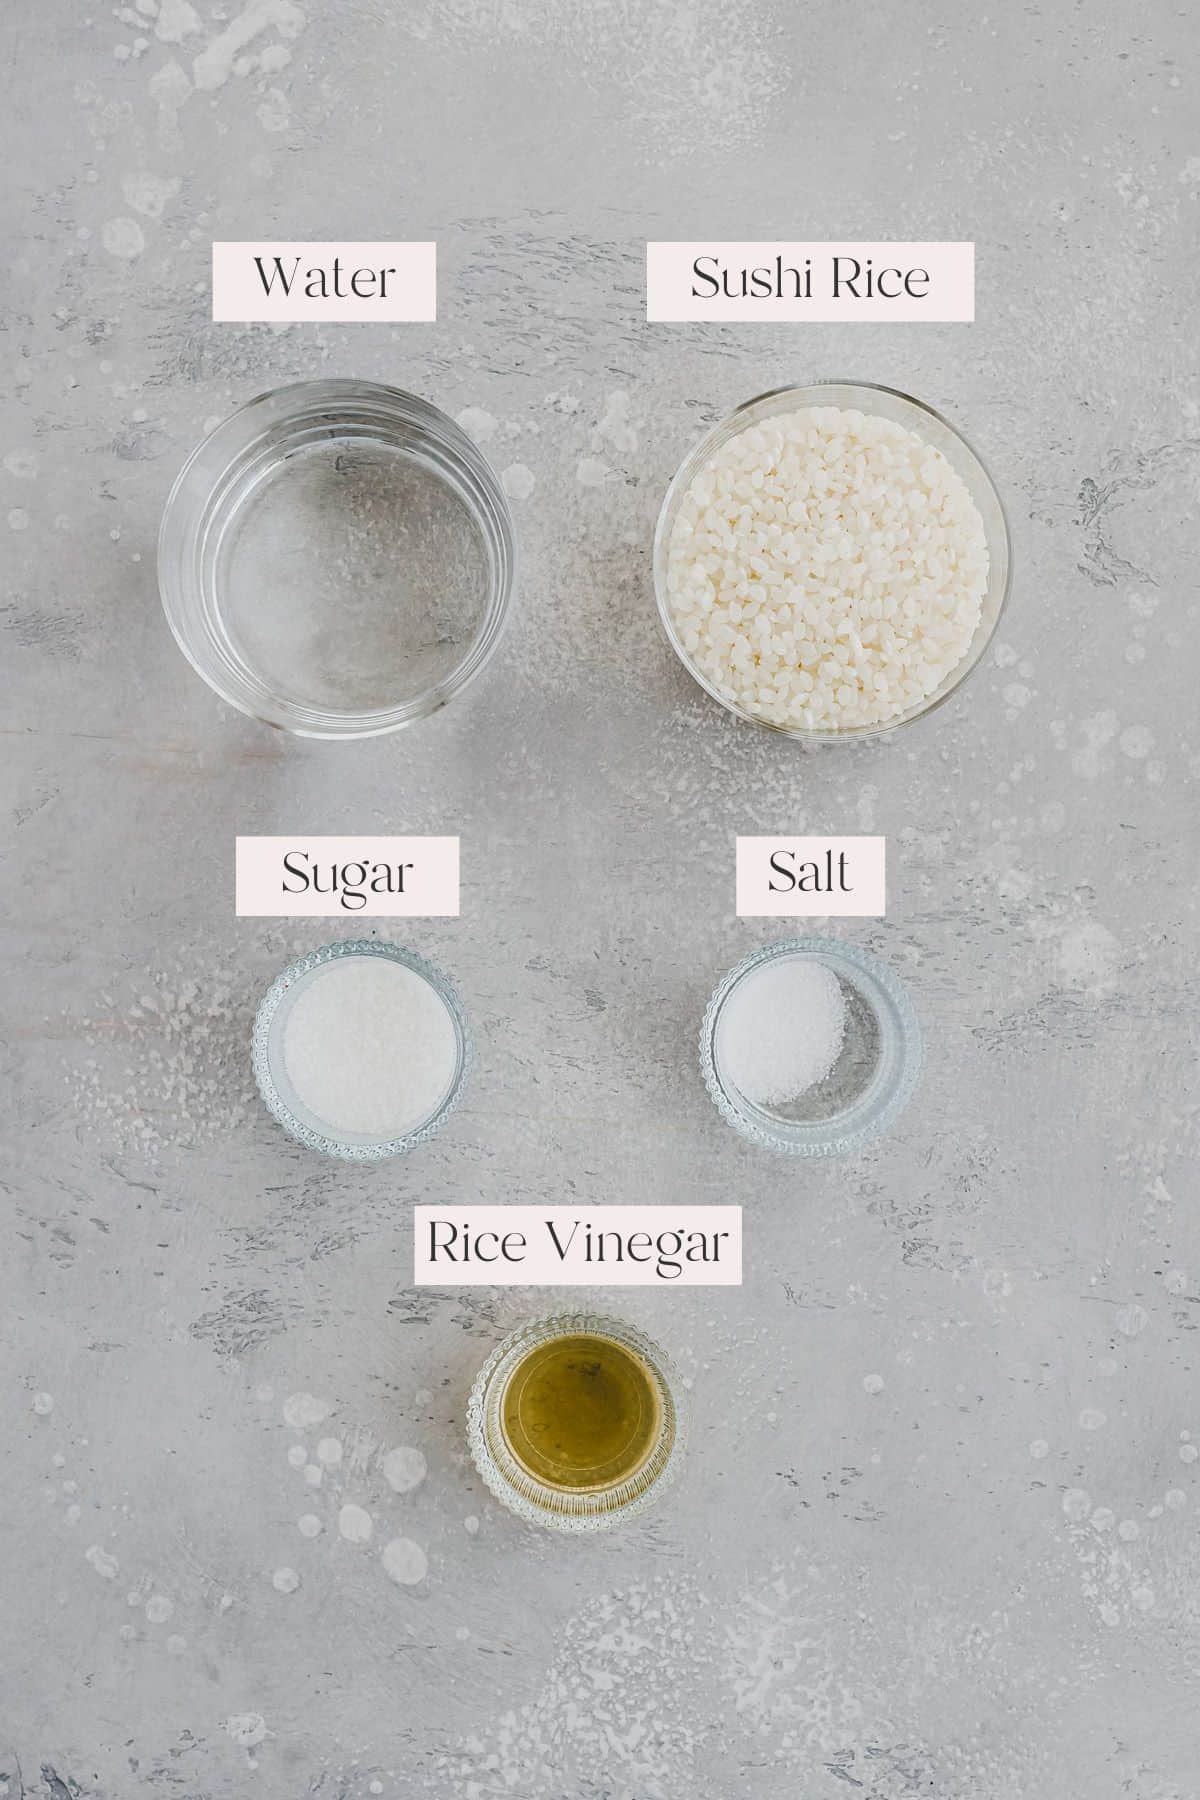
- Sushi Rice: The best rice for sushi is Japanese Short Grain Rice!
- Rice Vinegar: It’s used to flavor the rice! If possible, I recommend using high-quality unseasoned rice vinegar from the Asian store!
- Sugar & Salt: To season the vinegar mixture!
Visual Step-by-Step Instructions
This visual step-by-step instruction will help you along the way - definitely recommended if you're a cooking beginner! 😉 → Watch the recipe video to see how easy it is to make at home! 🤓
- Rinse Rice: Place the sushi rice in a large bowl and wash the rice under running cold water until the water runs clear. → Move the rice in a circular rotation using your hand to speed up this process.
- Drain Rice: Carefully discard the water (use a sieve if you want).


- Cook Sushi Rice in a Pot: Place washed rice with 1 ⅜ cups (330ml) water in a pot. Let the rice soak for 30 minutes. With the lid on, bring the pot to a boil. Reduce the heat to the minimum and let it cook for 8 minutes. → Do not open the lid while cooking! Remove the pot from the heat and let the rice sit for another 10-15 minutes with the lid on.
- Cook Sushi Rice in a Rice Cooker: Place washed rice with 1 ½ cups + 1 tablespoon (375ml) water in the bowl of a rice cooker. Let the rice soak for 30 minutes. Start cooking. Use the “sushi rice” method if your rice cooker has that option. Once the rice is cooked, switch off the rice cooker and leave the rice to sit for another 10-15 minutes in the rice cooker. DO NOT OPEN THE LID!


- Make Sushi Vinegar: Meanwhile, add rice vinegar, sugar, and salt in a small saucepan. Bring to a boil, switch off the heat, and stir until the sugar dissolves.
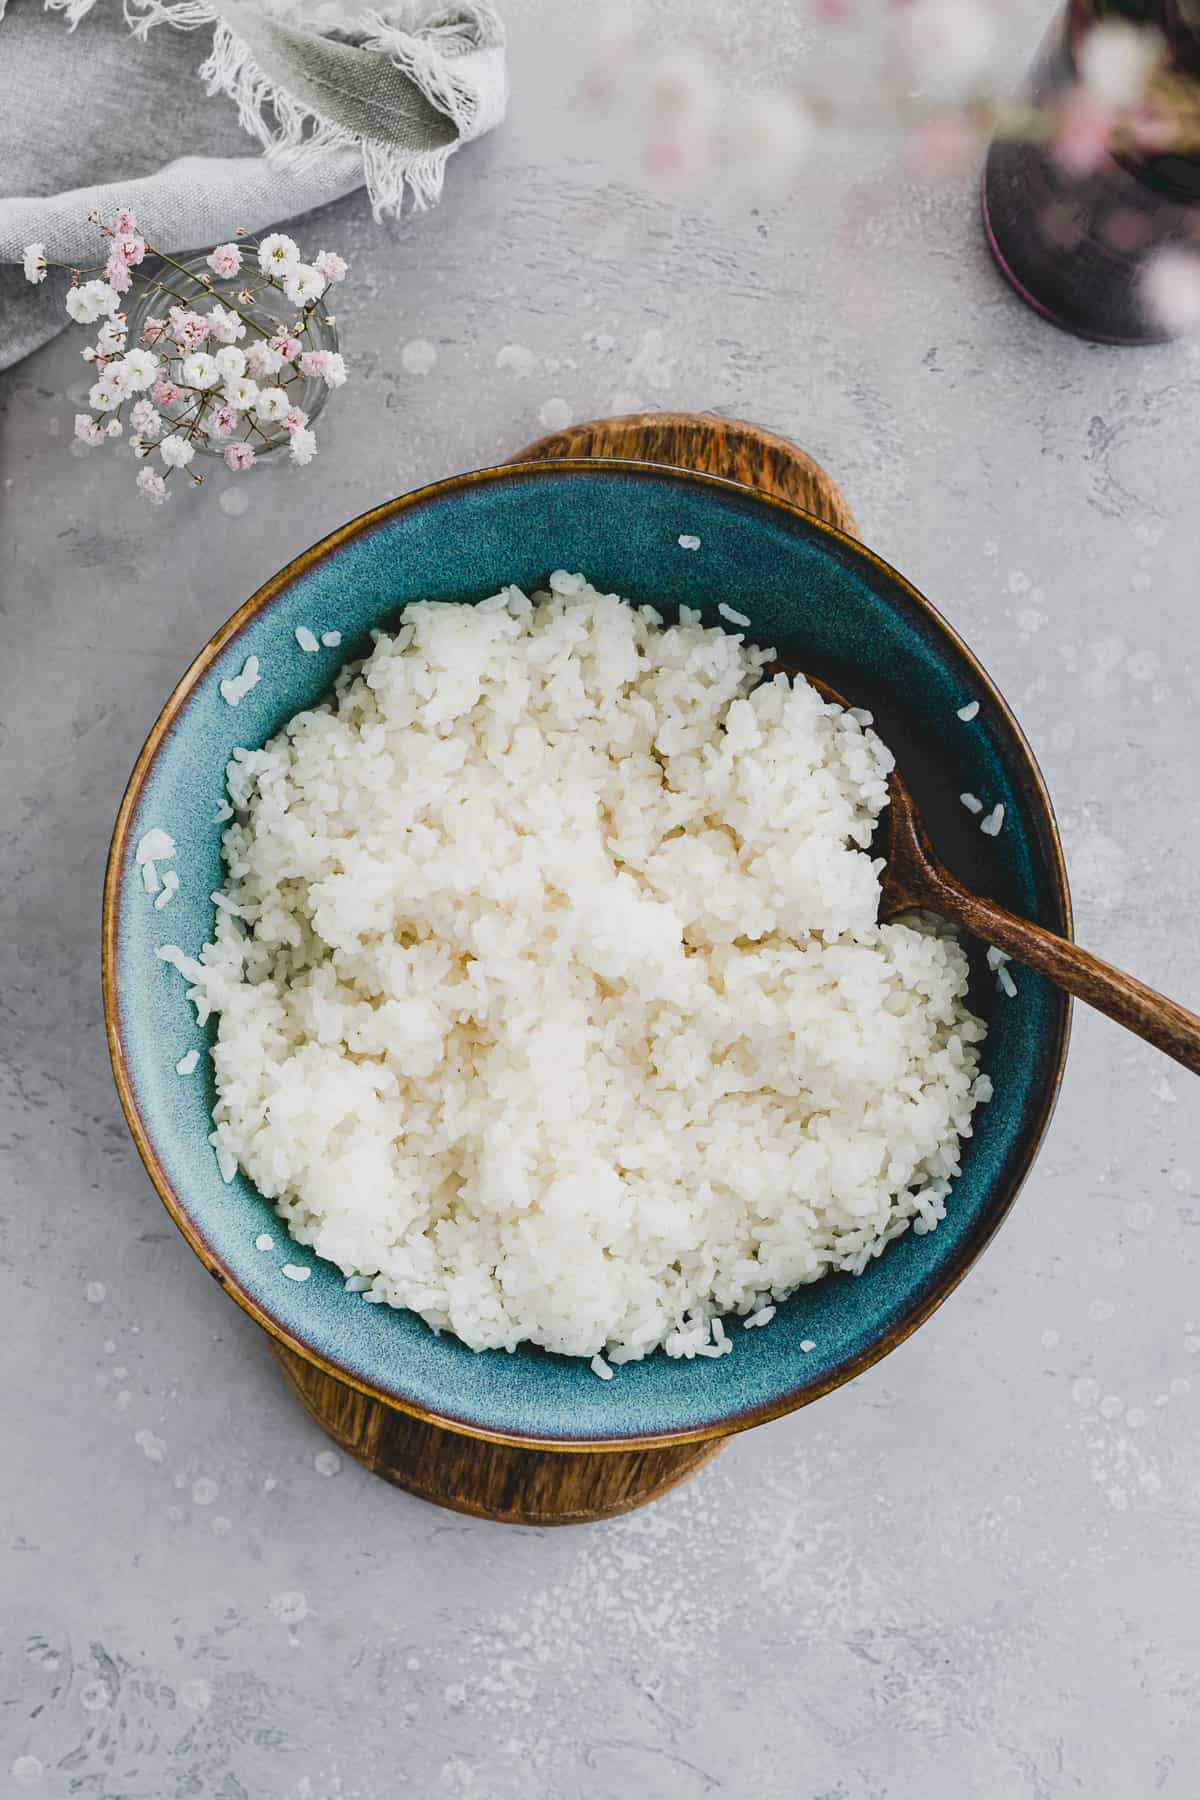
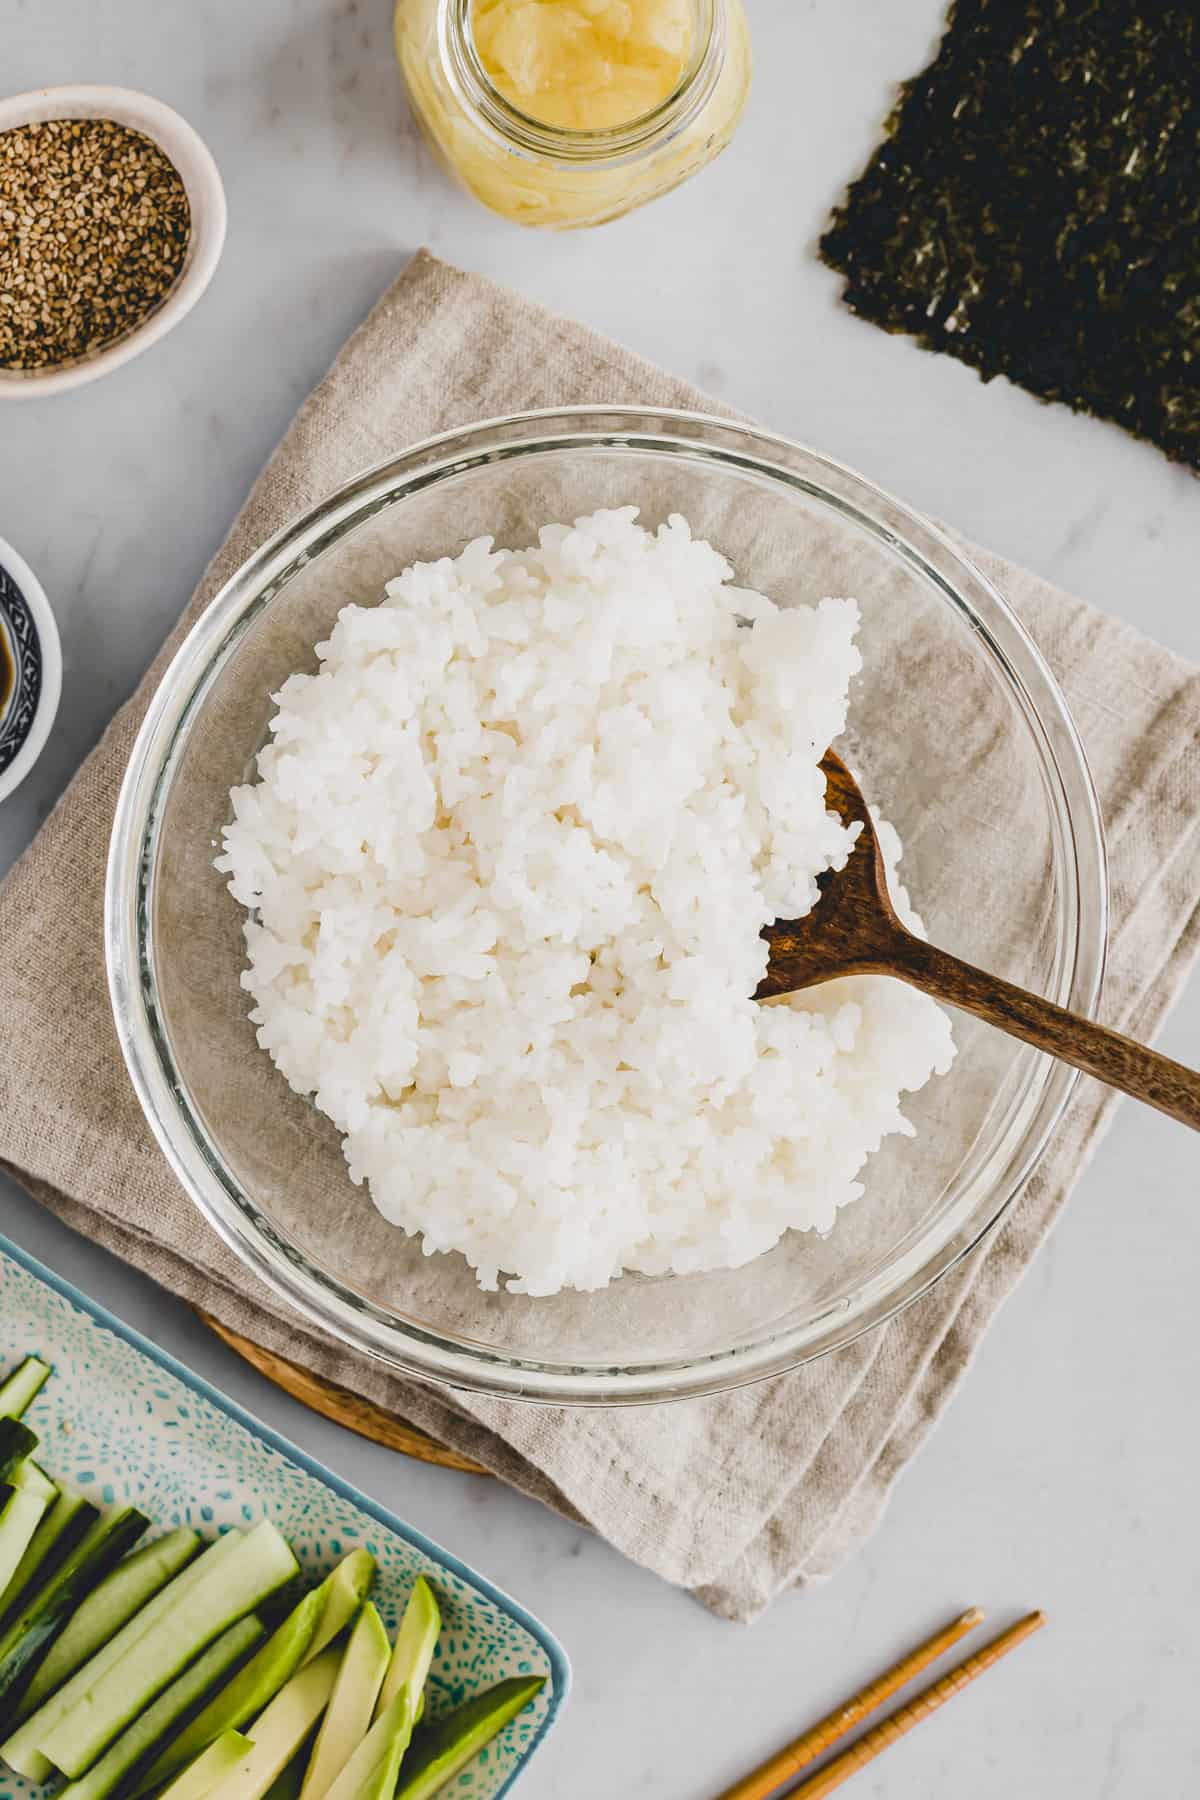
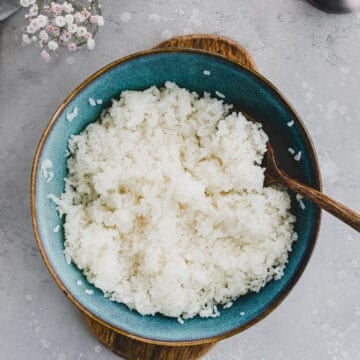
- Season Rice: Place cooked rice in a large bowl, pour over the hot vinegar mixture, and toss until well combined. → Use a rice paddle or wooden spoon. Avoid any metal spoon and bowl as they react with the vinegar.
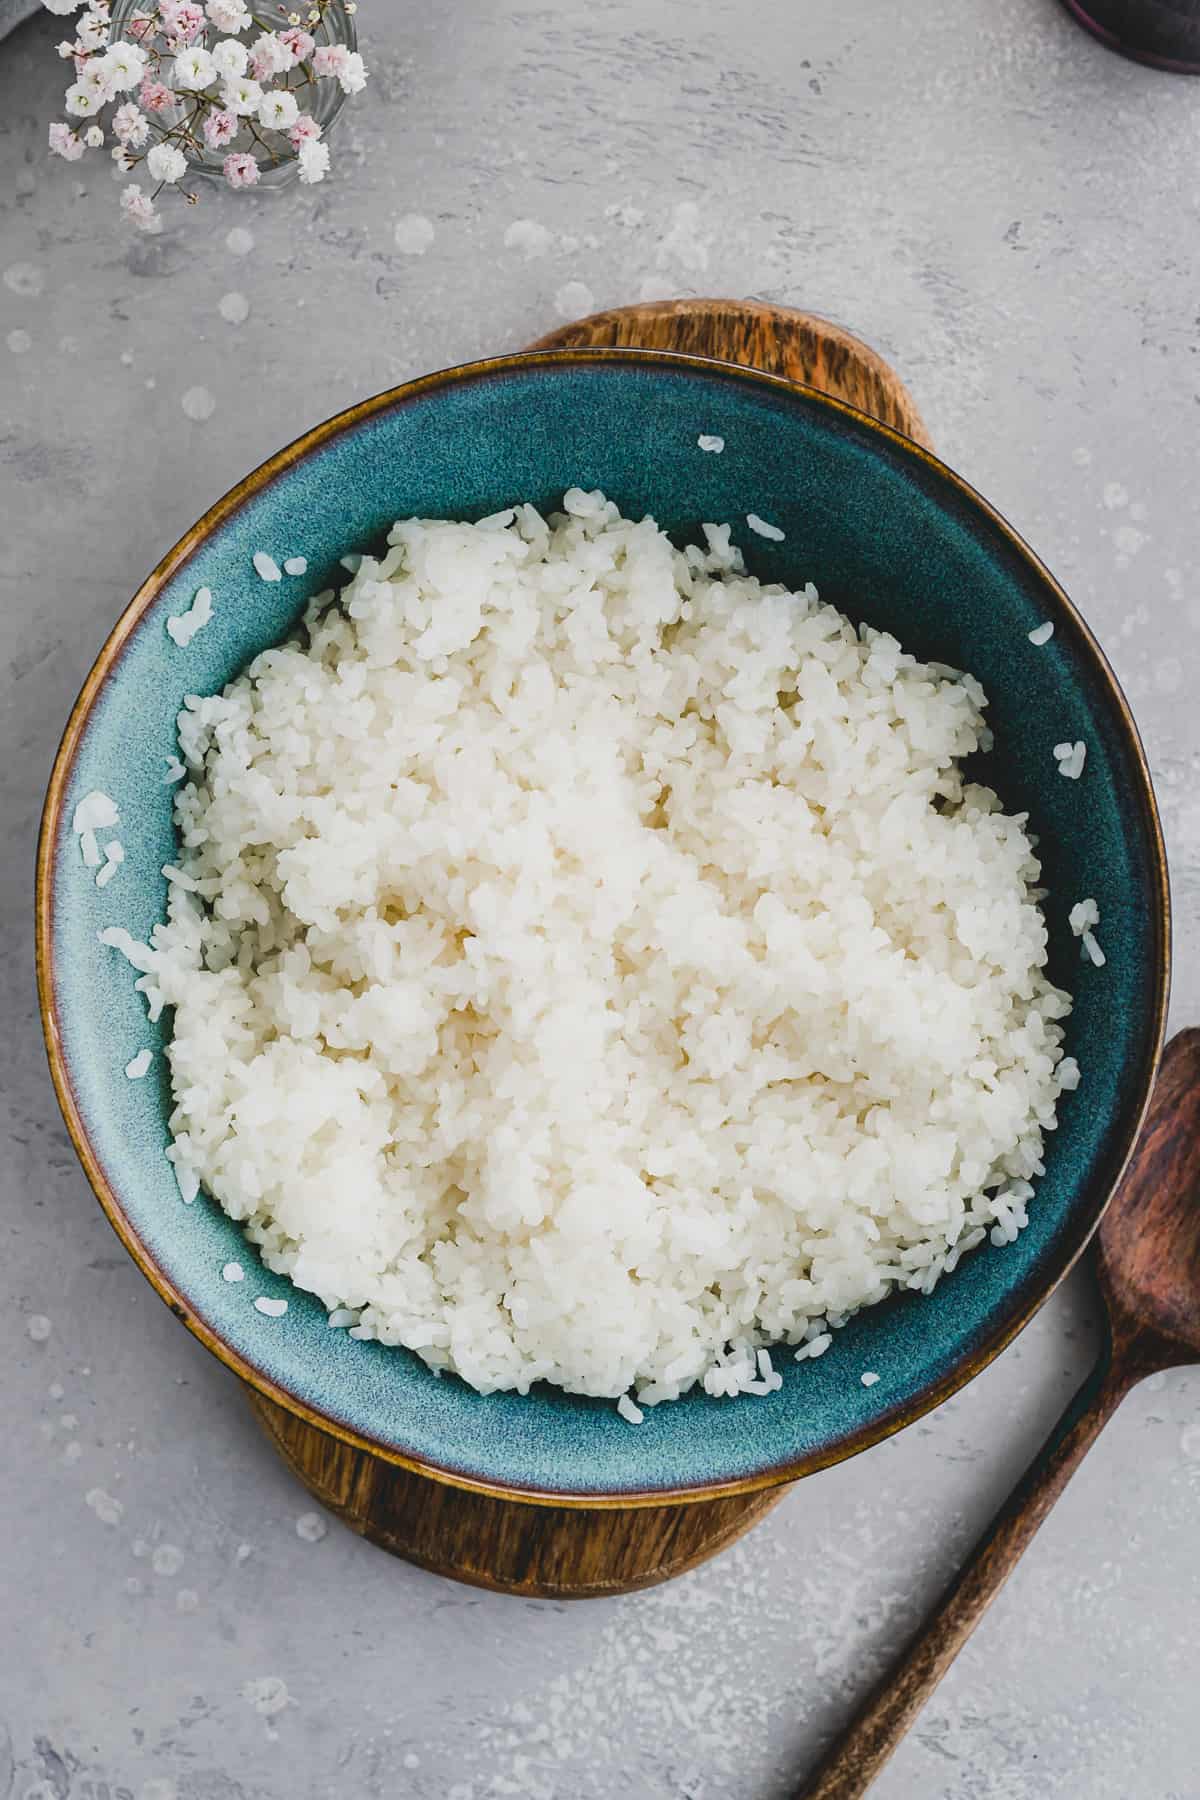
- Cool: Cover the bowl with a damp tea towel to prevent the sushi rice from drying out. Let it cool on the counter until it reaches room temperature.
- Serve: Use the rice to make your favorite sushi recipe or delicious poke bowls. Serve with this homemade pickled sushi ginger and wasabi paste!


Hint: The rice water ratio when using a pot is 1:1.1 (measured in US Cups)! The rice water ratio when using a rice cooker is 1:1.25, but it can vary depending on your rice cooker! Be sure to check the manual of your rice cooker and modify the ratio if necessary.
Storage Instructions
Always use freshly cooked sushi rice to make sushi! Once refrigerated, it will turn hard and is no longer usable to make sushi. Leftovers can be stored in an airtight container in the refrigerator for up to three days and used to make poke bowls.
However, you can easily store leftovers if you have already rolled the rice into sushi rolls. Wrap the whole sushi roll (uncut) into plastic wrap and refrigerate for a maximum of one day. When ready, cut the roll, let it sit for 30 minutes at room temperature, and enjoy your leftovers.
Did You Make This Recipe?
If you enjoyed this recipe, please consider leaving a ⭐ star rating and let me know how it went in the 📝 comments below.
Follow me on Instagram, Pinterest, or Facebook, and sign up for my free newsletter to stay updated with new recipes. Thank you for your support! ❤️✨
📖 Recipe
How To Make Sushi Rice (Perfect Every Time)
email me this recipe 💌
Ingredients
- 1 ½ cups sushi rice
- 1 ½ cups + 1 tbsp water (if using the rice cooker method), 1 ⅜ cups (330ml) water if using the stovetop method
Sushi Vinegar
- ¼ cup rice vinegar
- 2 tablespoon sugar
- 1 teaspoon salt
Instructions
- Rinse Rice: Place the sushi rice in a large bowl and wash the rice under running cold water until the water runs clear. → Move the rice in a circular rotation using your hand to speed up this process.
- Drain Rice: Carefully discard the water (use a sieve if you want)
Cook Sushi Rice in a Rice Cooker
- Place washed rice with 1 ½ cups + 1 tablespoon (375ml) water in the bowl of a rice cooker. Let the rice soak for 30 minutes.
- Start cooking. Use the "sushi rice" method if your rice cooker has that option.
- Once the rice is cooked, switch off the rice cooker and leave the rice to sit for another 10-15 minutes in the rice cooker. DO NOT OPEN THE LID!
Cook Sushi Rice in a Pot
- Place washed rice with 1 ⅜ cups (330ml) water in a pot. Let the rice soak for 30 minutes.
- With the lid on, bring the pot to a boil. Reduce the heat to the minimum and let it cook for 8 minutes. → Do not open the lid while cooking!
- Remove the pot from the heat and let the rice sit for another 10-15 minutes with the lid on.
- Make Sushi Vinegar: Meanwhile, add rice vinegar, sugar, and salt in a small saucepan. Bring to a boil, switch off the heat, and stir until the sugar dissolves.
- Season Rice: Place cooked rice in a large bowl, pour over the hot vinegar mixture, and toss until well combined.
- Cool: Cover the bowl with a damp tea towel to prevent the sushi rice from drying out. Let it cool on the counter until it reaches room temperature.
- Serve: Use the rice to make your favorite sushi recipe or delicious poke bowls.
I have not used your recipe yet as I have a question to which I have never seen an answer. When I got my rice cooker, It came with a plastic cup which is only about
3/4 of a cup. Is this the cup to use or can I use a one cup measuring
cup? Thank you.
Hi Ken, the plastic cup comes with almost every rice cooker. However, for my recipe, you need a standard one cup measuring.
This is the BEST SUSHI rice!! Thank you, so much for sharing!!
Happy to hear, Deb! 🙏❤️
Great recipe!
Happy to hear! 🙏🥰
Even though it was my first time making sushi rice, and cooked the rice on the stovetop, this recipe worked perfectly and the rolls that hubby and I made with this rice, came out great. Thanks!
Happy to hear, Yvonne! And thank you for your feedback! 🙏🥰
I love your recipe but how do I double it. I know cooking rice can be kinda tricky
I think you should be good if just doubling the ingredients if using a rice cooker! 😉
Thank you for sharing your recipes with all of your clear instructions.
Great recipe that turns out perfect every time! I love the detailed instructions for beginners as different rice preps can be tricky. I use this recipe for my Spam Musubi and it is the perfect rice for that. Thank you
Thank you so much for your lovely comment, Mary! 💕
I use this recipe every time. Love it!
So glad to hear, Monica! 😍
What could I substitute instead of sugar to get the same results? Thanks.
Sugar is an essential part of this recipe and can’t be substituted if you want to achieve the same result. 😉
Hello! I was wondering if you can use an instant pot set on the rice setting just as well as a rice cooker??? I can’t wait to try this recipe!
Hi Danielle, as I don’t have an instant pot (shame on me 😂🙈), I can’t tell you with a 100% success rate that it will work just fine. But if you are used to cooking rice in your instant pot, why not just give it a try?
Let me know how you decided.
Aline 💜
Easy and perfect rice, thanks
So glad to hear, Sharinne! 💕