Fluffy, soft, and rich in flavor – that’s how an authentic French Brioche Bread must be! Let me show you how to make the best brioche bread recipe at home!
What Is Brioche Bread
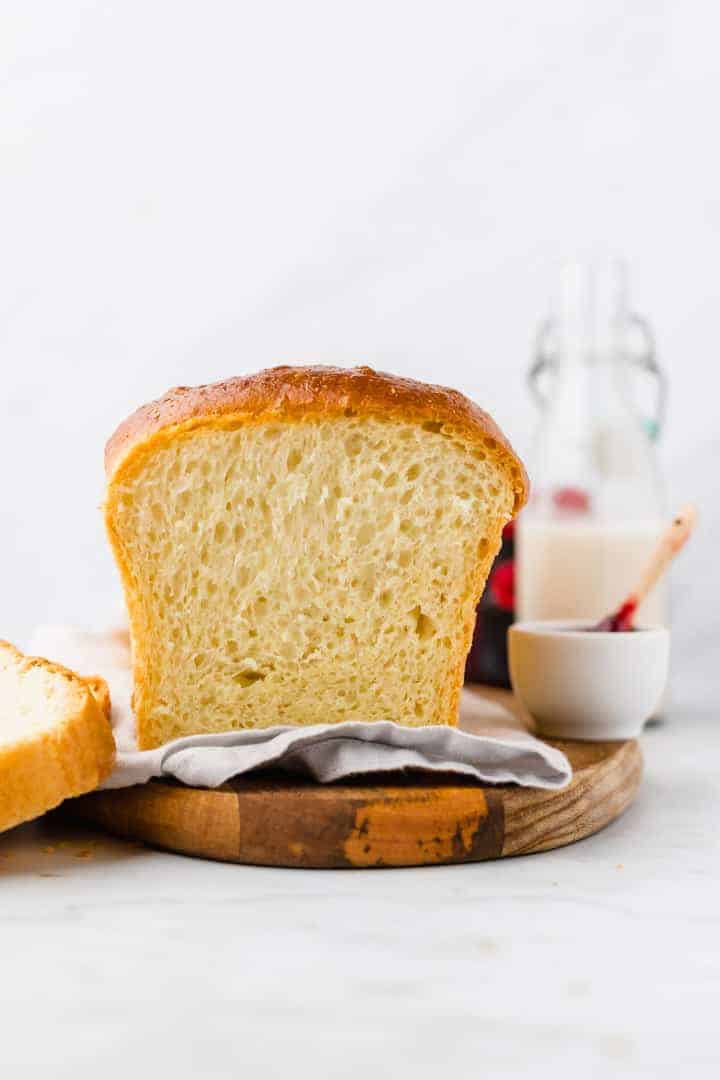
Brioche bread is one of the most known and most authentic French bread that exists. It’s made with eggs and butter, which gives this bread a very rich flavor.
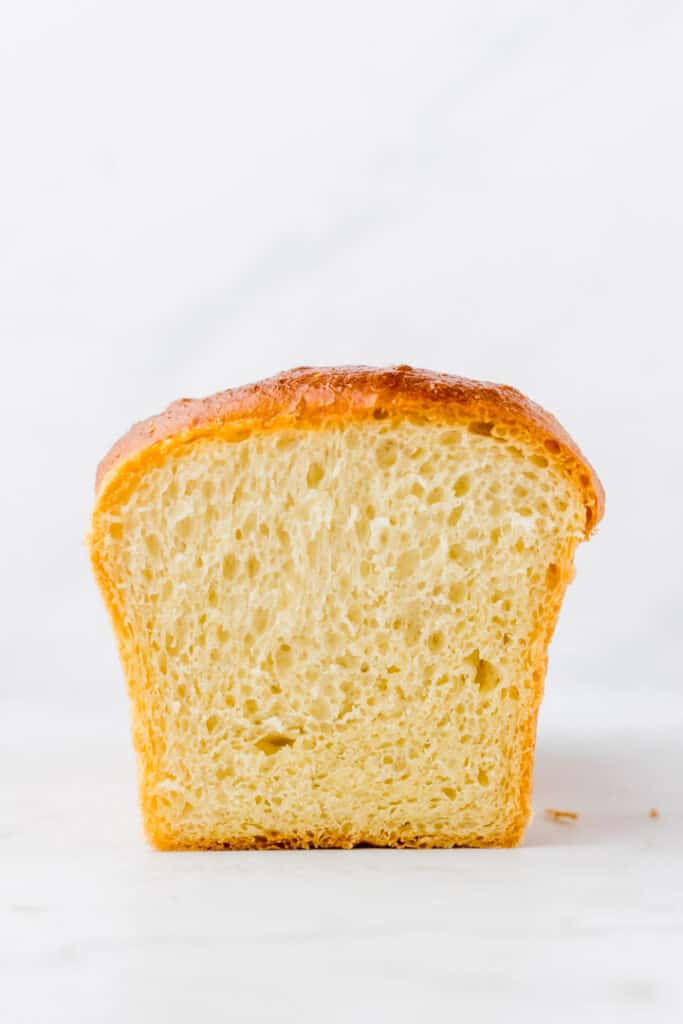
The texture of this bread is similar to soft toast bread or challah bread, but much fluffier. Furthermore, it has a very intense flavor and is due to the use of a high amount of butter quite buttery. Some like it, others don’t.
Because French Brioche Bread is so buttery, it’s an excellent bread to use for making Brioche French Toast, Baked French Toast Casseroles, or Grilled Cheese Sandwiches.
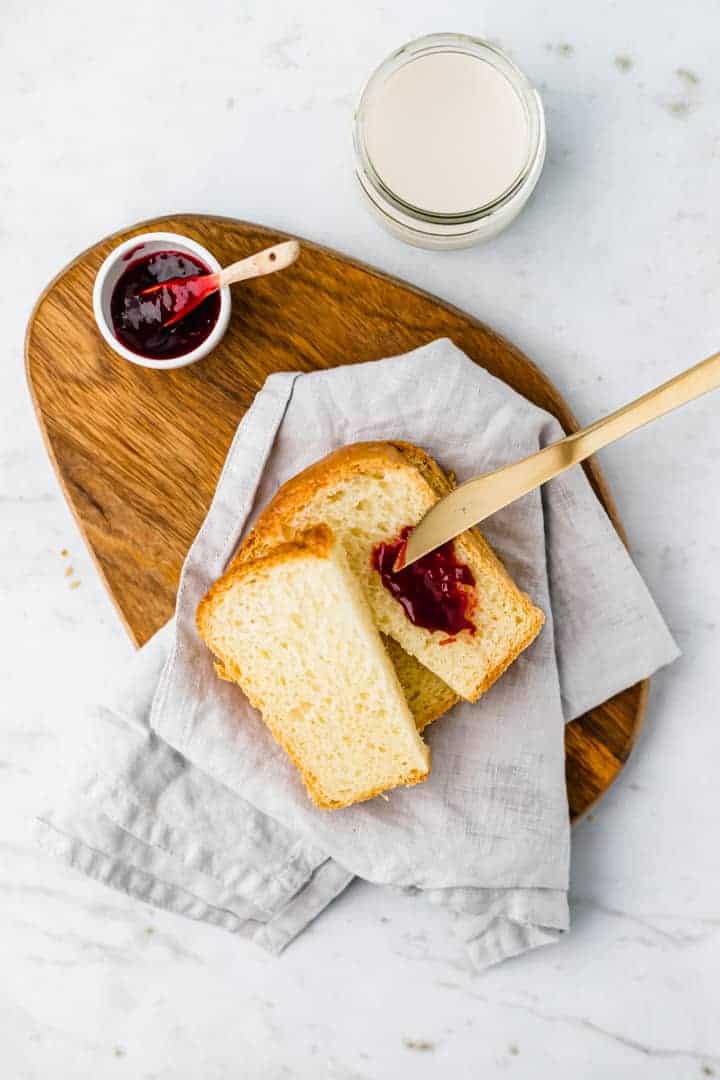
I love to toast it and use it for sandwiches or spread it with Nutella or jam in the mornings.
How To Make Brioche Loaf
The loaf is basically a yeast dough with extra butter and eggs. The dough is hard to handle and quite sticky (different than regular bread). Therefore, I can highly recommend you to use your stand mixer!
I have never made the dough from hand and would never try it, to be honest with you.
Also, you need to knead your dough for 20 minutes, and I wouldn’t want you to spend that time on kneading, your stand mixer can do this for you!
The key to a very fluffy and airy brioche bread is to let it rise for at least 4 hours up to a maximum of 16 hours. My tip is to start with the dough in the early evening and let it rise in your fridge overnight.
The next morning, you can form it into a loaf, let it rise again, and bake it. Your French brioche will be ready around noon (depends if you are an early bird or like to sleep in).
The second option is starting in the early morning, let it rise in the fridge during the day, finish and bake it in the evening!
I always bake my brioche as a loaf in a loaf pan. But you can also use the dough to make brioche buns or burger buns (sprinkle with seeds). If so, reduce the baking time and take the buns out of the oven when golden brown.
French Brioche Recipe
Ingredients you need:
- Fresh yeast, or active dry yeast → I always recommend using fresh yeast if available in your supermarket, don’t spin your head if it’s not available and use dried yeast instead
- Milk, can be substituted with plant-based milk, preferably soy or oat milk
- Sugar, necessary for the yeast and a light sweet taste
- Eggs → can’t be replaced if you are following a vegan diet, sorry
- All-purpose flour
- Salt
- Butter, needs to be cold → can be substituted with a plant-based butter
How to make it:
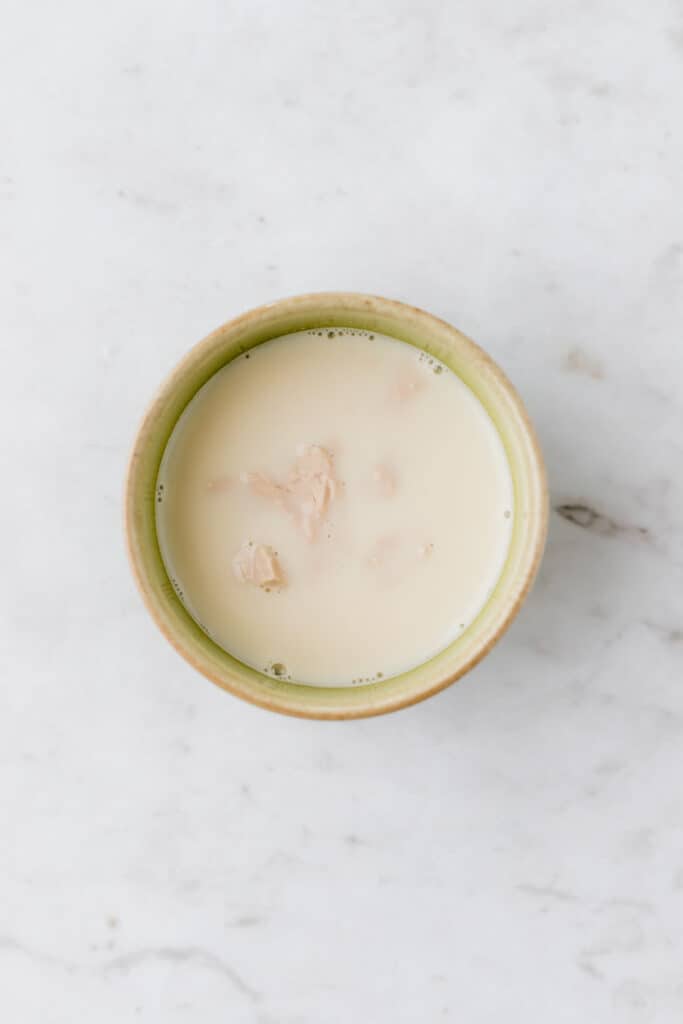
- Mix the yeast, milk (need to be lukewarm, but not hot → warm up in the microwave or a small pot), and sugar until the yeast starts foaming. → This takes about 5 minutes, you will see the process very well when using fresh yeast.
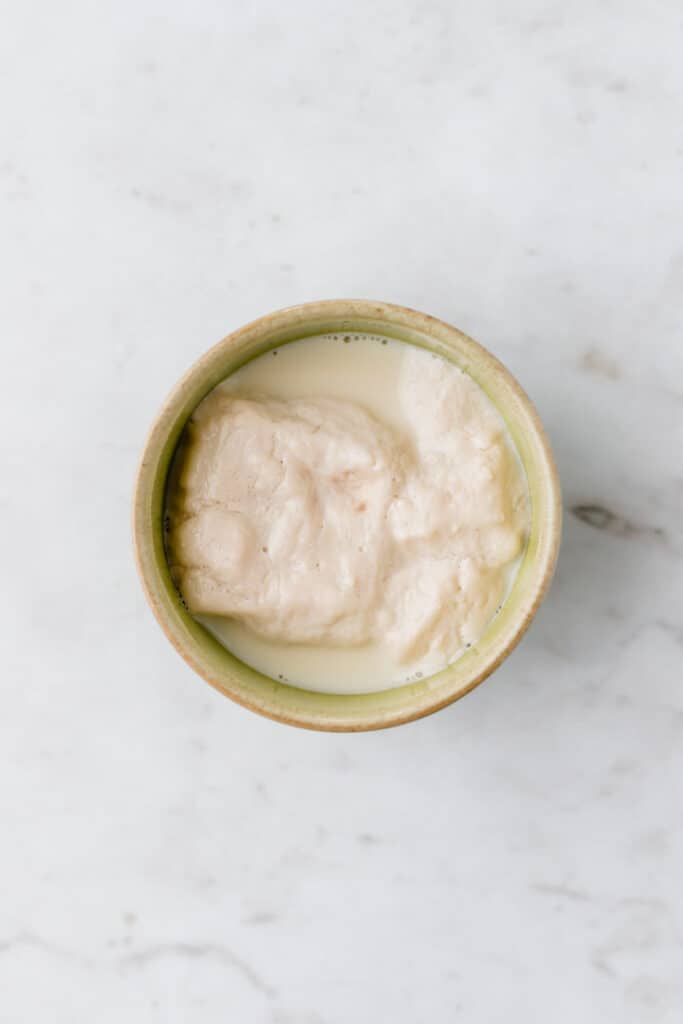
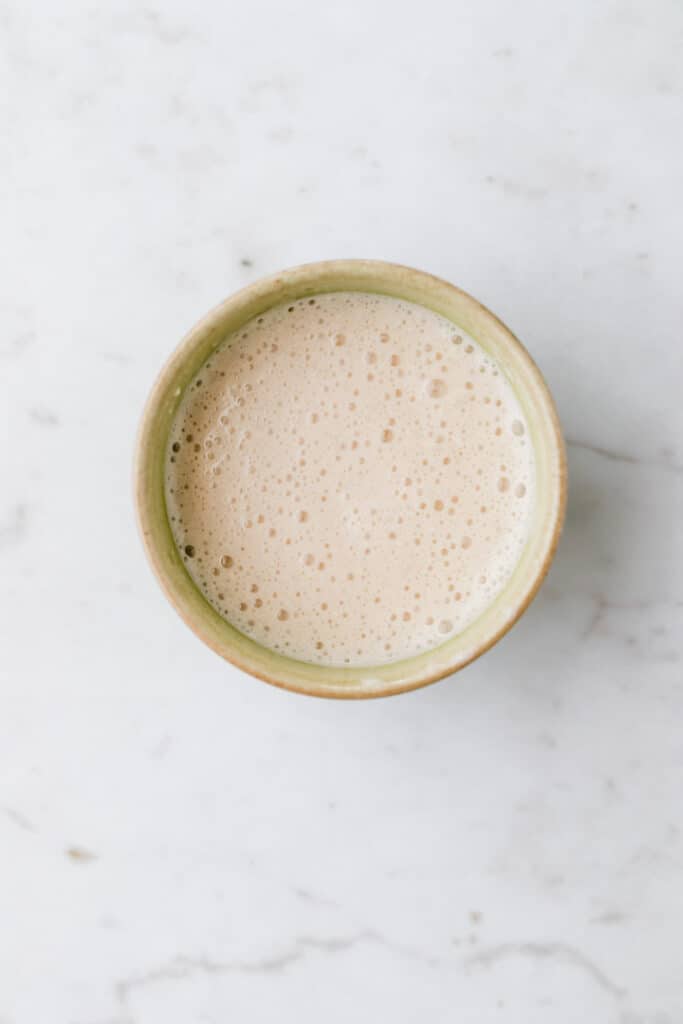
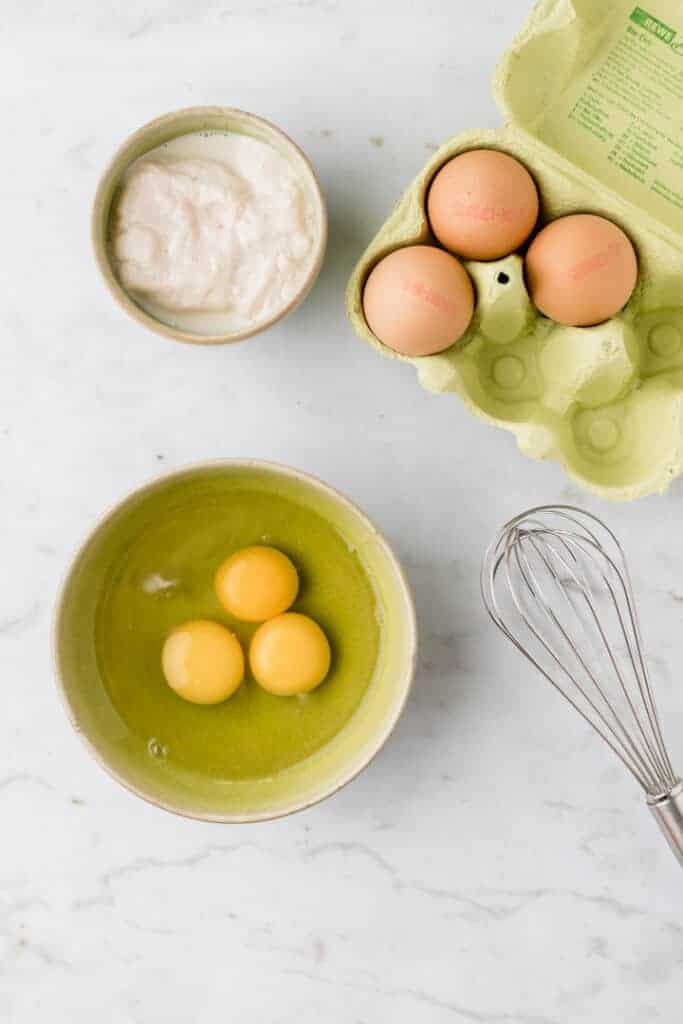
- Mix in the eggs.
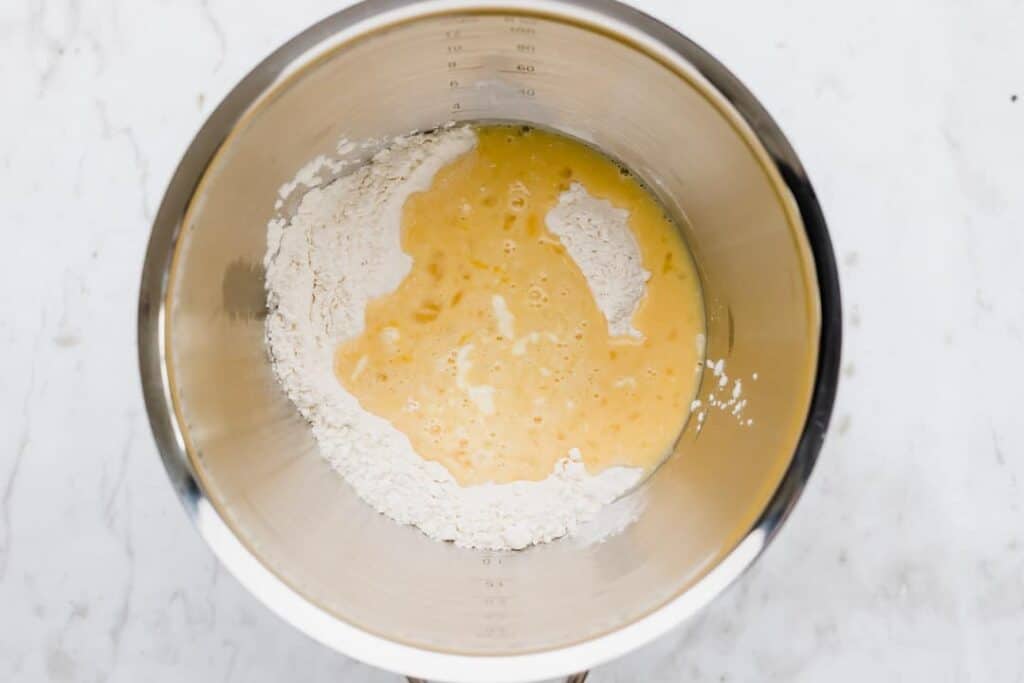
- Give it with the flour and salt in the bowl of your stand mixer and knead for 5 minutes at speed level one using the dough hook. → The dough is quite hard to handle, don’t add more milk.
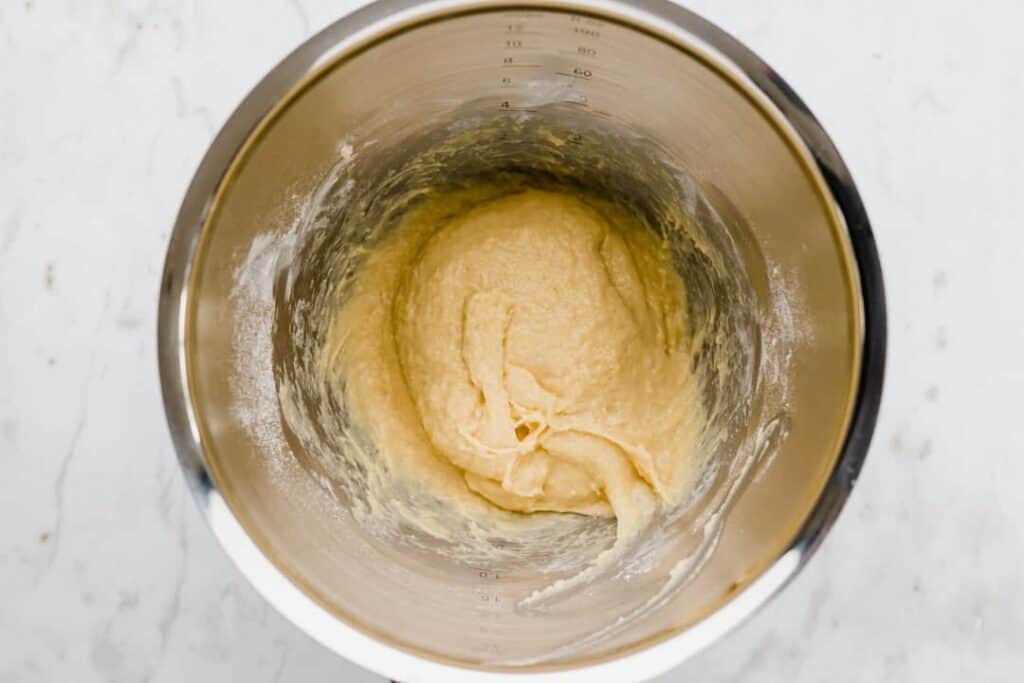
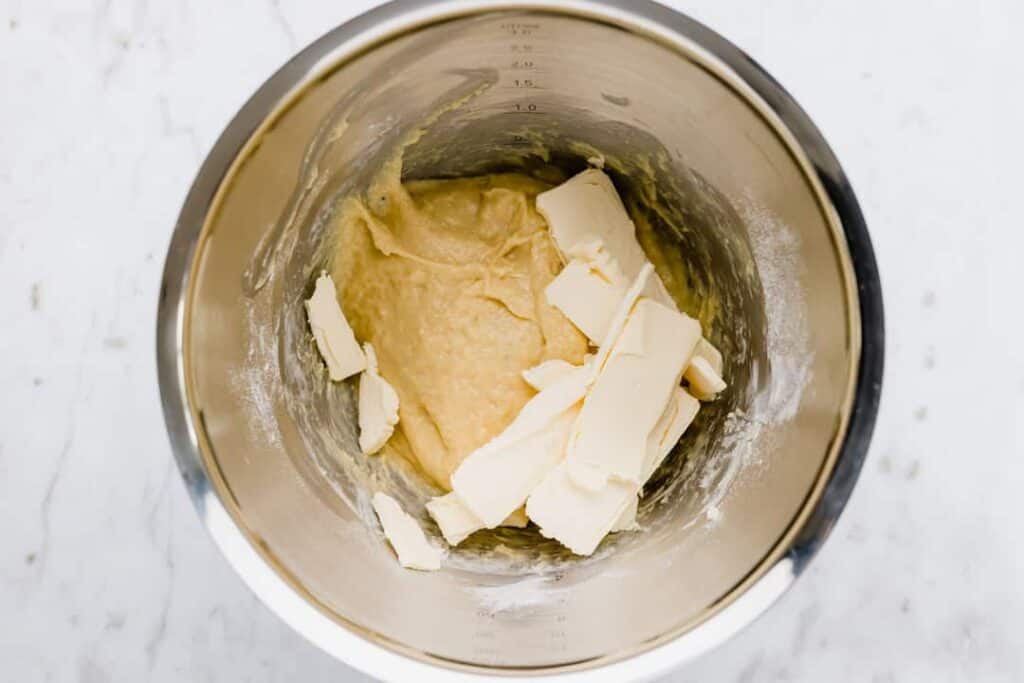
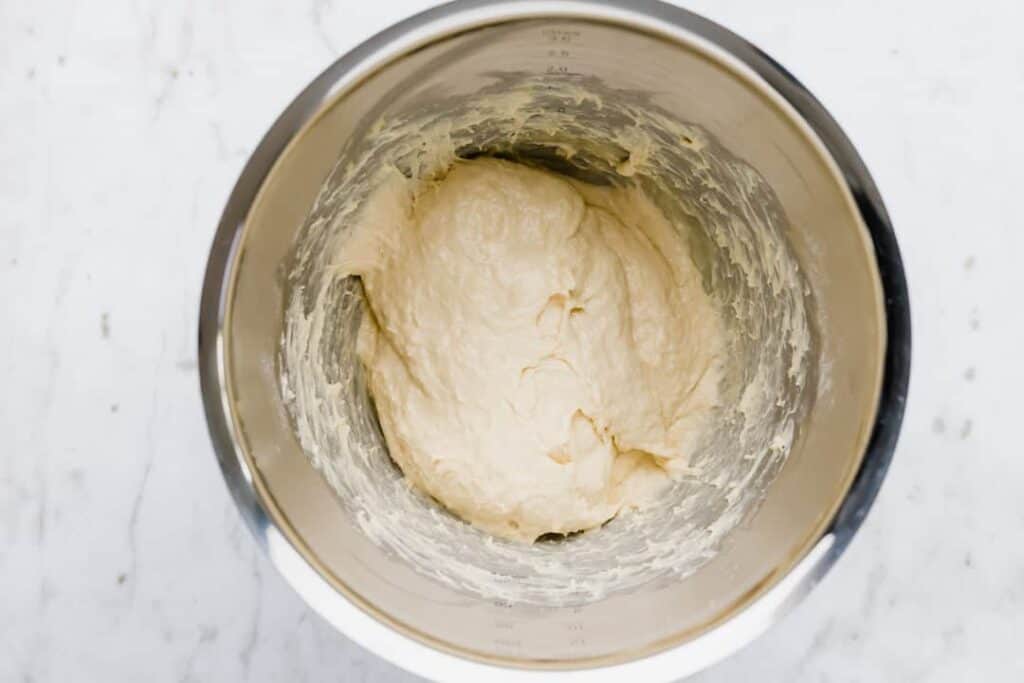
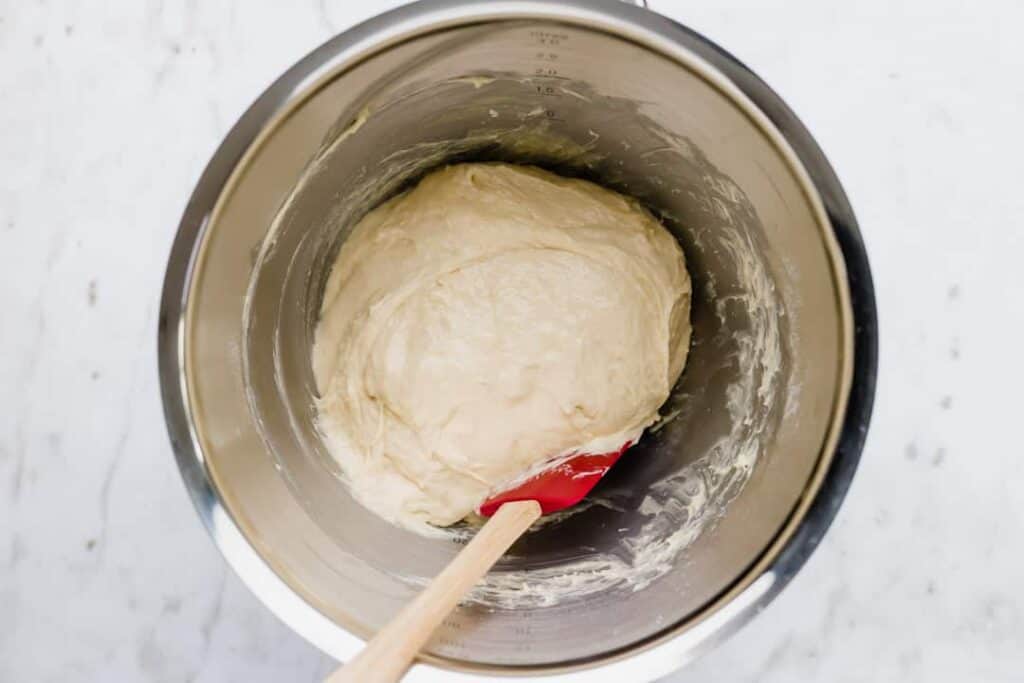
- Now, add the butter in pieces and knead for another 15 minutes at speed level two until the butter is well incorporated and your dough is smooth and still slightly sticky but comes easily from the bowl if using a silicone spatula.
- Grease a bowl with oil (olive, sunflower, or canola oil).
- Add your dough, turn it around once until fully covered with the oil, and cover it with a damp tea towel or plastic wrap.
email me this recipe 💌
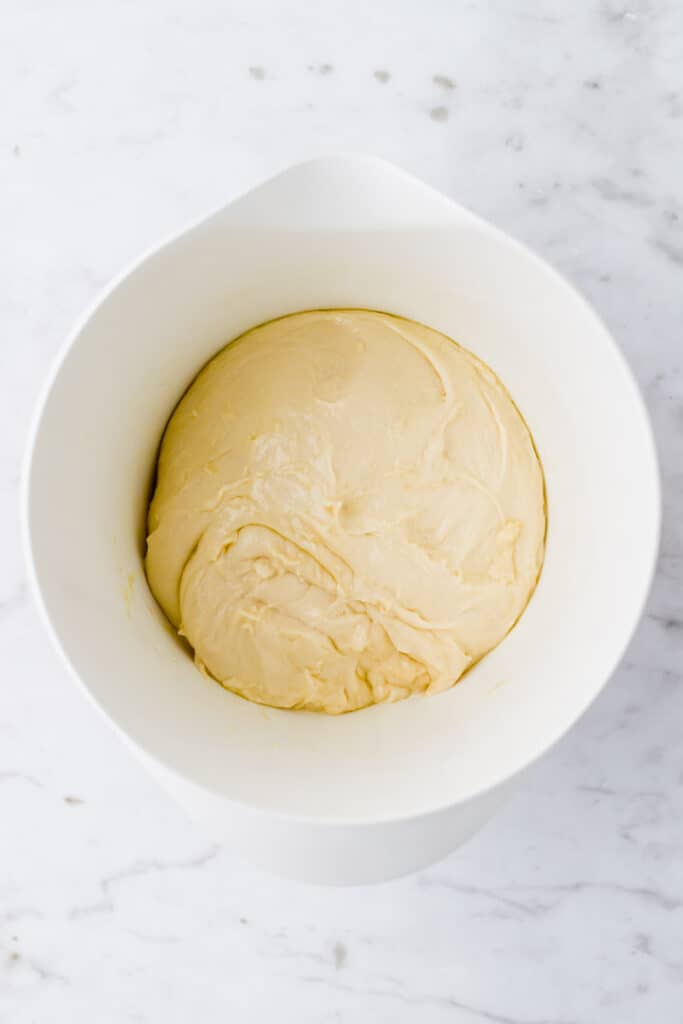
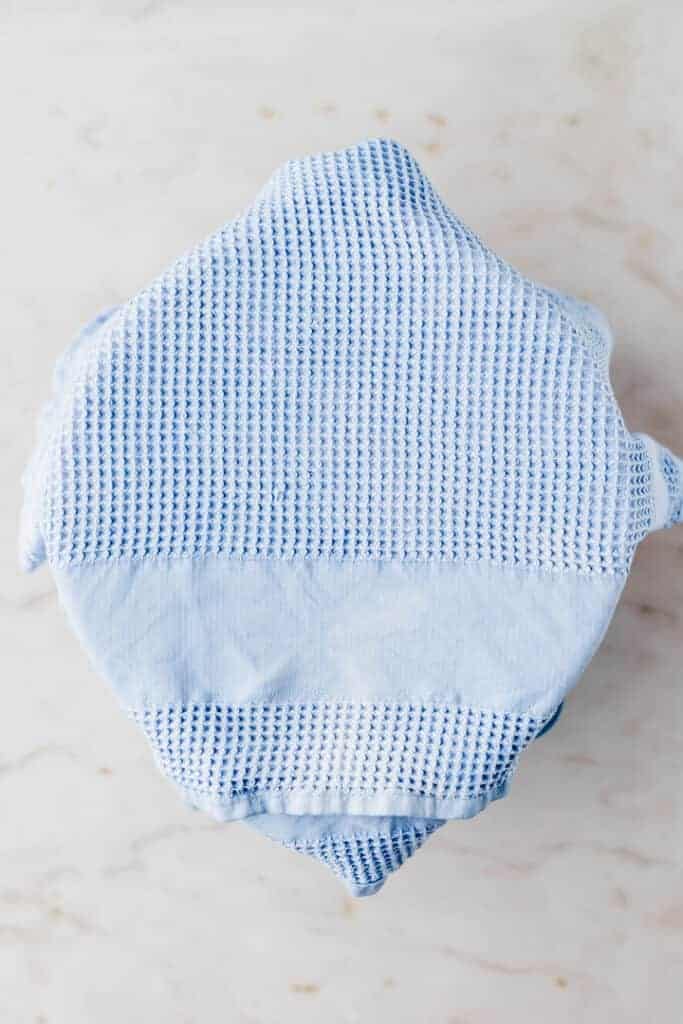
- Leave your dough to rise for one hour at room temperature.
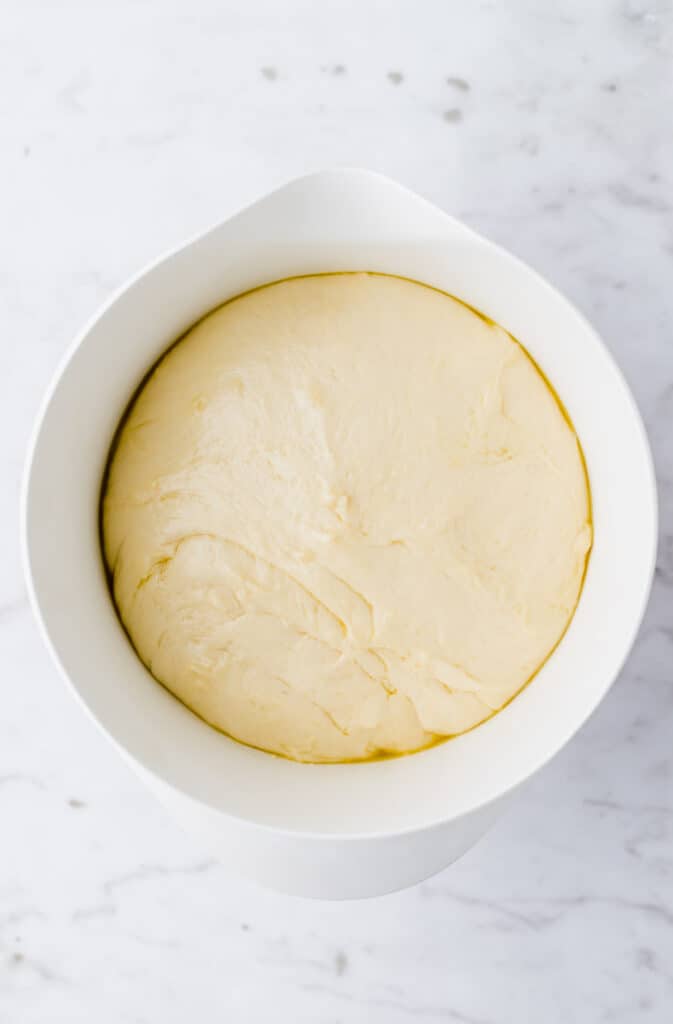
- Place in the fridge and leave to rise for 4-16 hours. → Overnight is perfect.
- The next morning, your dough is very airy and has a lot of bubbles. Place on a lightly floured surface and divide into five equal pieces (using a knife or dough scraper).
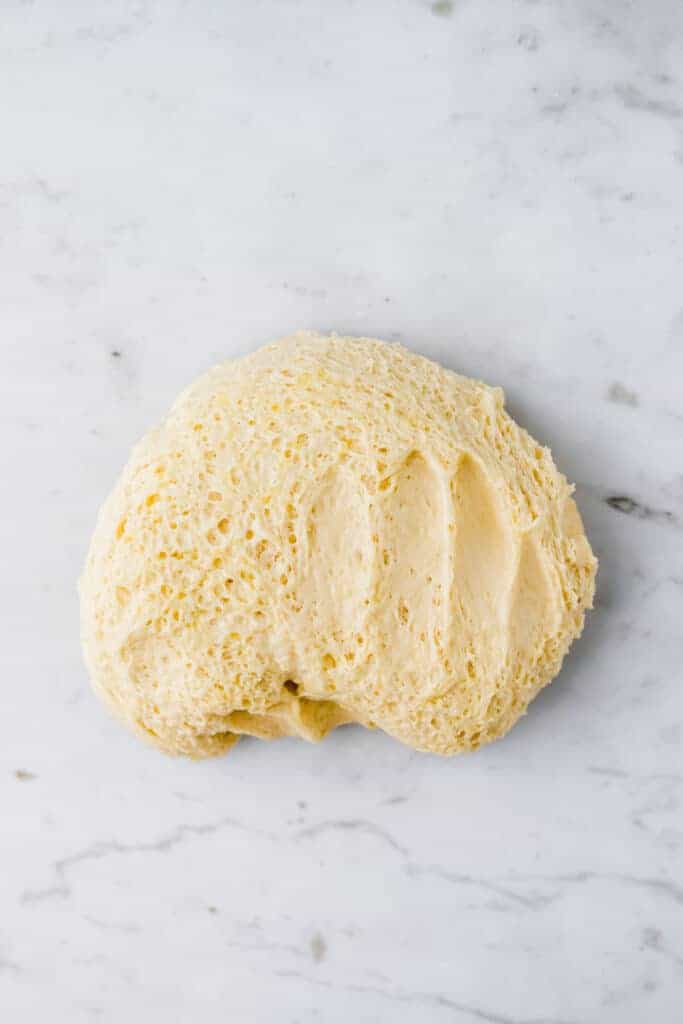
- Fold each one into a log:
- Form it first into a rectangle → slightly press the dough with the palm of your hands and stretch using your fingers.
- Then roll it up into a log using your fingers.
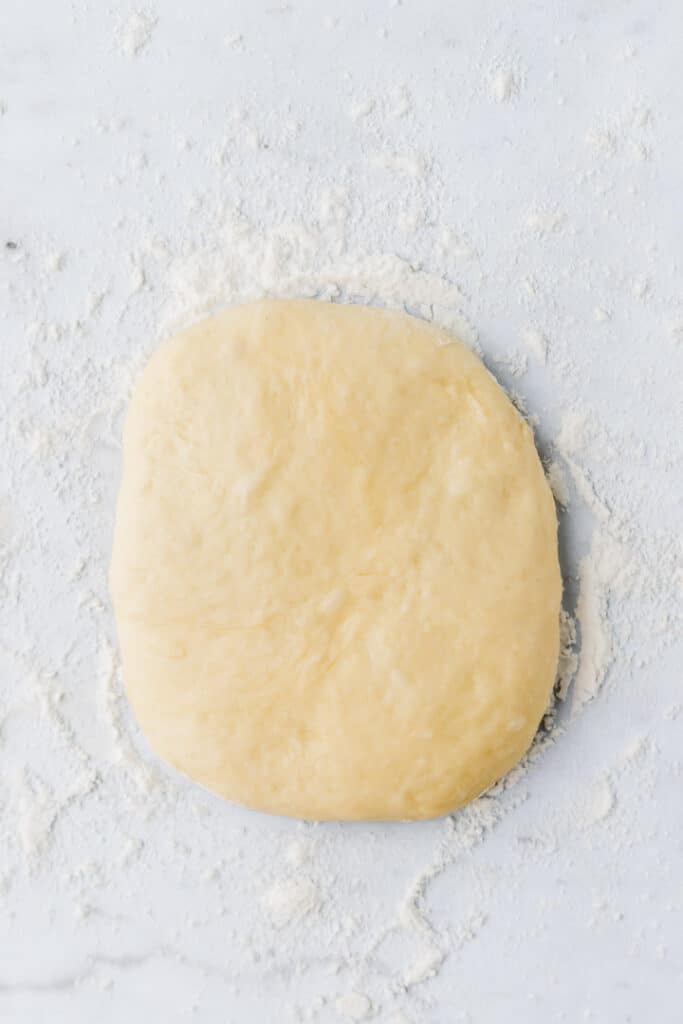
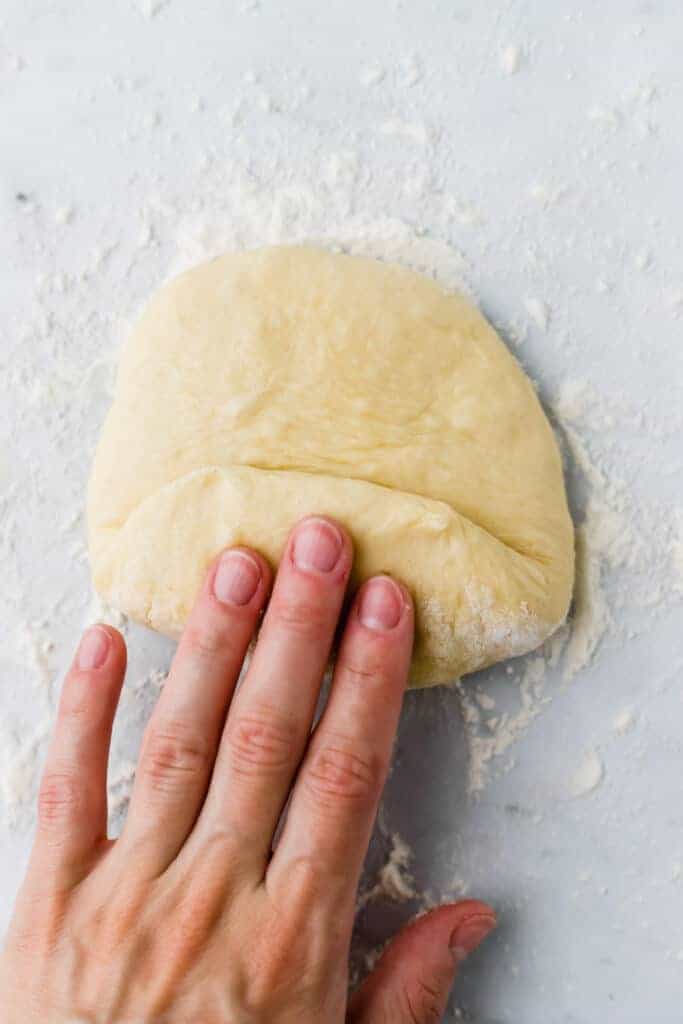
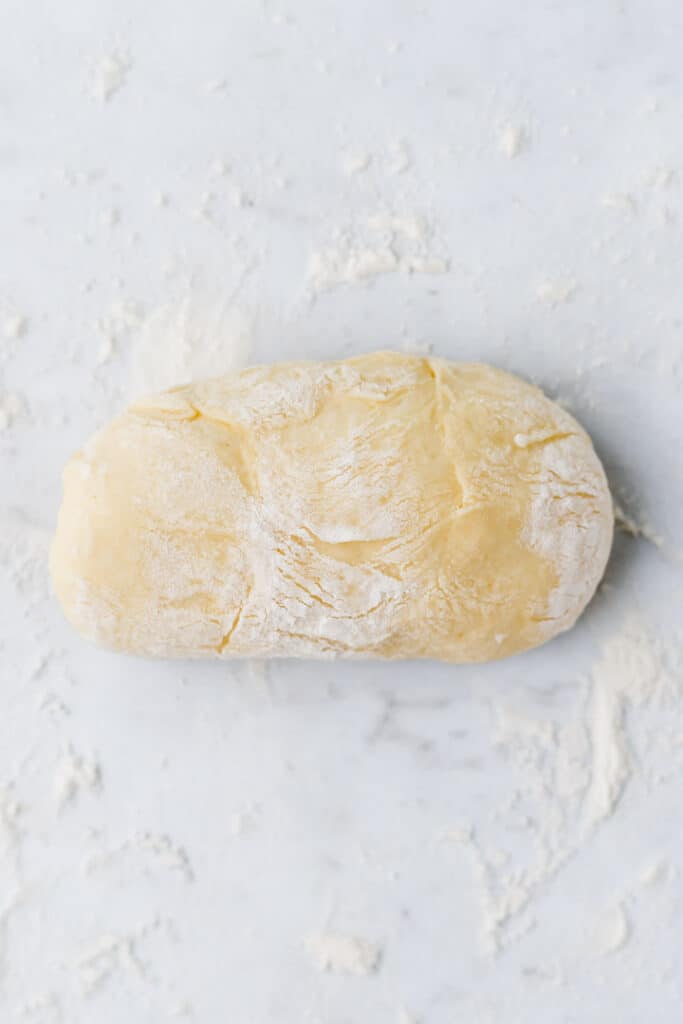
- Place the logs in a with oil greased 10×5-inch loaf pan (25x12cm). You can push them carefully together if they don’t fit.
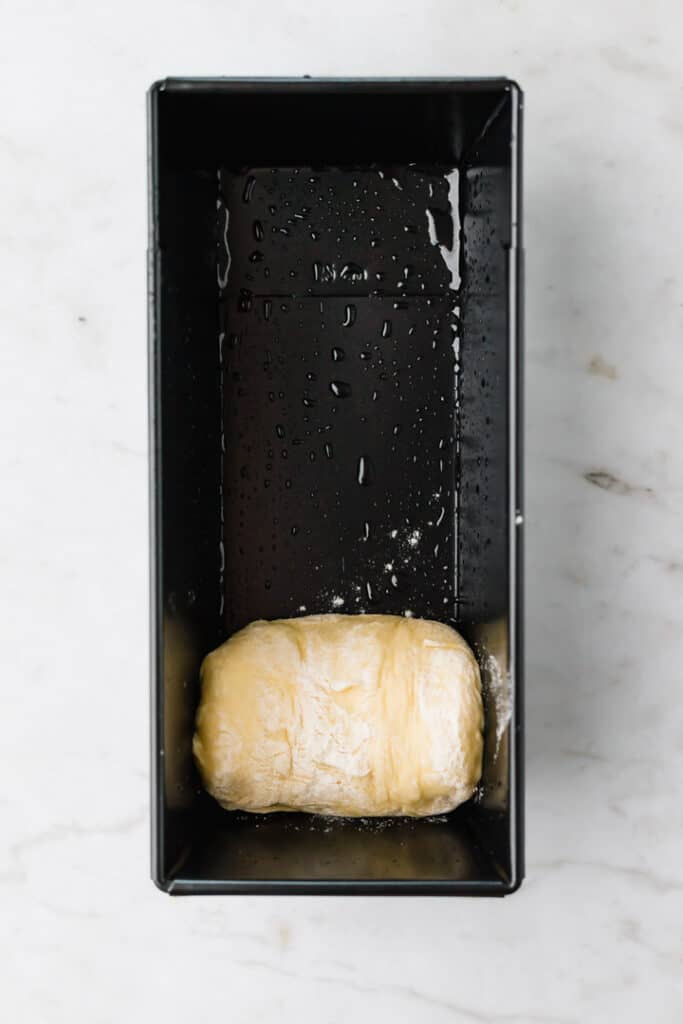
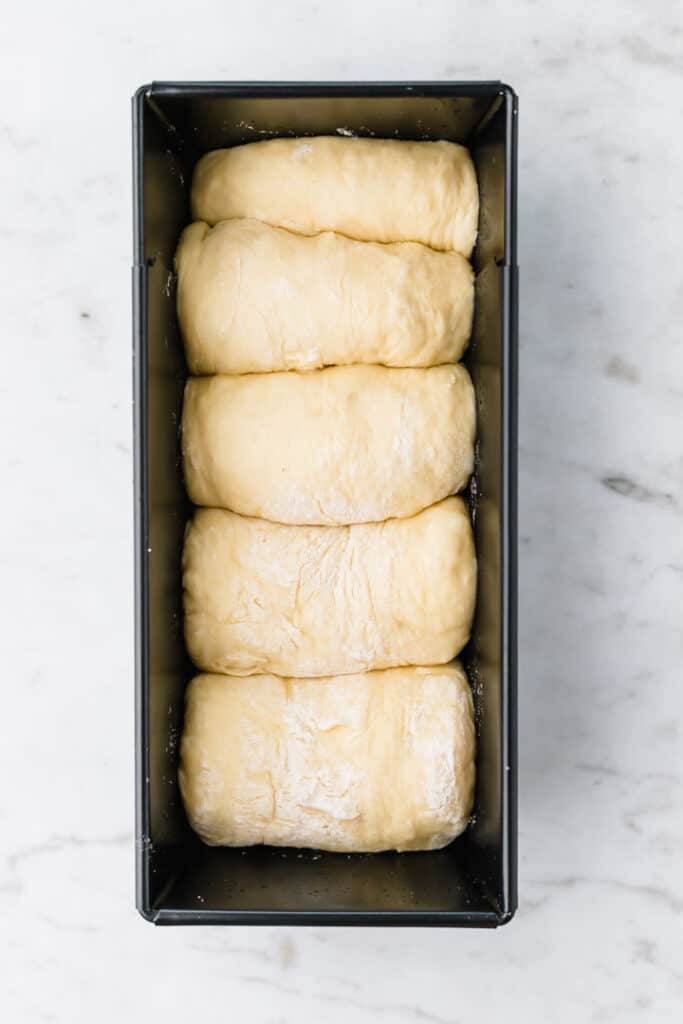
- Cover with a damp tea towel or plastic wrap and let it rise again for 1.5-2 hours until it has grown significantly to the top of the loaf pan. Start preheating your oven (395°F/200°C) after 1.5 hours.
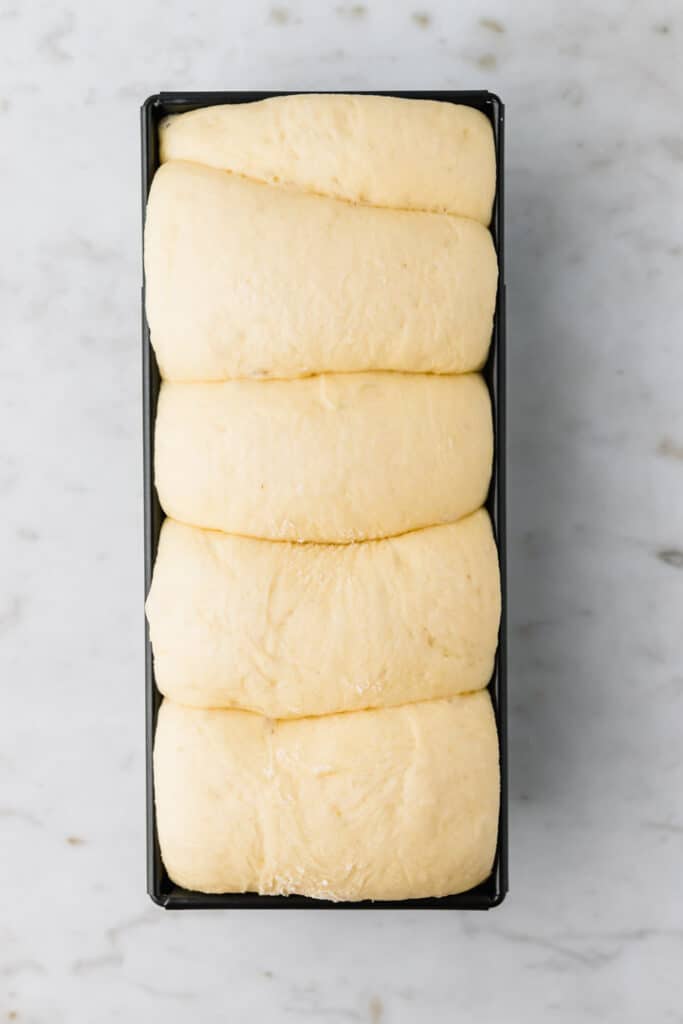
- Brush your brioche with a beaten egg (use a baking brush). → This ensures a golden top and keeps your dough from drying out during baking. Vegan egg wash alternative: 2 tablespoon unsweetened soymilk, 1 tablespoon agave nectar, 1 pinch ground turmeric.
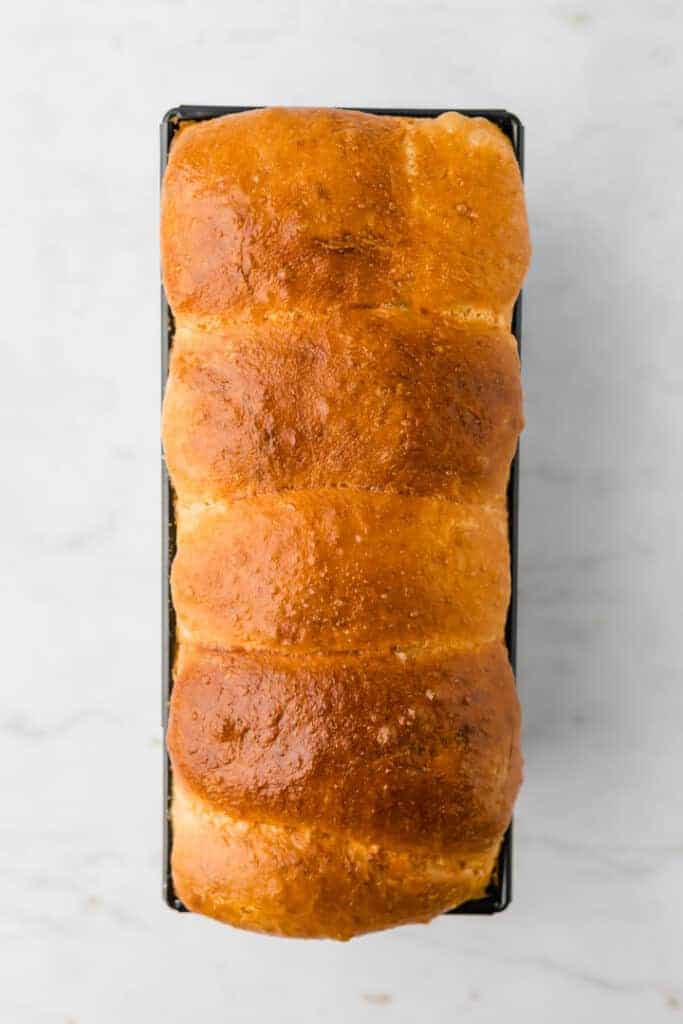
- Bake the brioche for 30-35 minutes in the preheated oven until it’s golden brown.
- Take it out, place on a wire rack, and let it cool down for at least 15 minutes before you take it out of the pan. Leat if cool entirely before slicing.
French Brioche Recipe FAQ
How To Store Brioche?
Store your brioche wrapped in a tea towel or plastic bag for three days.
Can I Freeze Brioche?
You can freeze the whole loaf or cut in slices (easy to defrost in a toaster). Place them in freezer friendly zip bags and freeze for up to 3 months. Defrost in your oven or toaster before serving.
Can I skip the overnight freezer rise?
You can, but I don’t recommend it. If you do so, your brioche is still delicious, but it’s not as airy and fluffy when skipping this significant step.
Can I make this brioche recipe vegan-friendly?
Unfortunately, you need eggs for this recipe to work. But I give options for all other dairy products used which can be easily swapped with the non-diary version.
This recipe takes so much time, can I shorten it?
Most of the time is just dough rising time, and only little is actual active time in the kitchen. Give it a try, and you will be amazed by how simple it is making quality bread at home.
More Authentic French Recipes
- Authentic French Crepes
- Brioche French Toast
- French Croissants
- French Chocolate Croissants
- White French Dressing
- Vegan French Dressing
Did You Make This Recipe?
If you enjoyed this recipe, please consider leaving a ⭐ star rating and let me know how it went in the 📝 comments below.
Follow me on Instagram, Pinterest, or Facebook, and sign up for my free newsletter to stay updated with new recipes. Thank you for your support! ❤️✨
📖 Recipe
French Brioche
email me this recipe 💌
Ingredients
French Brioche Dough
- 1 tablespoon fresh yeast, or 2 teaspoon active dry yeast
- ¼ cup milk, lukewarm, use soy or oat milk as a non-diary option
- 2 tablespoon sugar
- 3 eggs
- 2.5 cups all-purpose flour
- 1 teaspoon salt
- ½ cup unsalted butter, chilled, use plant-based butter as a non-diary option
Egg Wash
- 1 egg, beaten
Instructions
- Mix the yeast, lukewarm milk, and sugar, and let it sit for 5 minutes until foaming. Mix in the eggs until well combined.
- Place it with the flour and salt in the bowl of a stand mixer, and knead at speed level 1 for 5 minutes (your dough is very sticky). Add the butter in pieces and knead for another 15 minutes at speed level 2 (your dough should be sticky but comes easily from the bowl using a silicone spatula).
- Place the dough in a greased bowl, cover with a damp tea towel, and let it rise at room temperature for one hour. Refrigerate for 4-16 hours ➝ makes your brioche soft & airy.
- Take the dough out of the fridge, place on a lightly floured surface, divide into five pieces and fold each one into a log (punch down the dough gently with the ball of your hand, stretch into a rectangle, and roll up into a log). Place them in a greased (or with parchment paper lined) 10×5-inch loaf pan (25x12cm), cover with a damp tea towel and let it rise for 1.5-2 hours at room temperature.
- Preheat the oven to 395°F/200°C. Brush the dough with the egg wash and bake it for 30-35 minutes until brown.
- Allow the brioche to cool down on a cooling rack before slicing.
Notes
- Use a plastic wrap instead of a damp tea towel to cover your dough.
- The temperature in the recipe is for the use of a regular oven. If you use a convection oven (fan-based), set the temperature to 355°F/180°C.
- Brioche is the best if fresh, but can be stored in an airtight container for a few days or up to three months in the freezer. Defrost in the oven or toaster.





Made some buns with this recipe. Turned out great.
As someone else mentioned, I had to add a little more milk (oat) after the first 5 minute mix, but everything else was spot on.
Thank you for your feedback, Steve! 🥰
This worked exactly as written, thanks!
Happy to hear, Maria! 🥰
Very disappointing, for all the work not much flavor. Wouldn’t make again
Sorry to hear that you didn’t like the brioche bread! 😢🙏
Thank you for sharing this recipe!
This was a pretty easy recipe to make. I used bread flour because I was out of all purpose flour. The taste is delicious but my loaf was a bit dense. Will try again with AP flour next time to see if that makes a difference.
Hope it turns out better next time! 🥰
I’ve never made anything more delicious in my entire life! It came out almost like a croissant, and my husband used it to make the best French toast I’ve ever had. The second loaf I made was soft on the top, buttery, and just the perfect amount of sweet. I did butter it generously on the top second it came out of the oven, and would recommend trying it!
I made 2 loaves at once, and I think next time I would just make them back to back simply for the bulk being a lot to work with in the mixer.
For some reason (maybe geographic location) I needed to bake mine at 350 instead of 390, and for a longer time, but that’s totally fine! The first one was crunchy, and was still wicked tasty. We used it to make garlic bread to go with spaghetti.
Thank you for this recipe! I really appreciate it, and will be using it again frequently!
Thank you for your kind feedback, Naomi! 💕 I am really happy to hear that the brioche turned out just as delicious as you like it! Have a wonderful Sunday!
All the best,
Aline 👱🏻♀️💕
I love making this bread it is really beautiful when done. It freezes beautifully and still has a wonderful flavor. I am getting ingredients together to make loaves for gifts. Thank you so much!
So happy to hear! Thank you for your kind feedback, Elaine! Love the gift-idea! 🙏💕
update to my earlier comment: I did not do the refrigerator at all. Turned out amazing. cooked way faster than the time stated. less than 20 minutes and I had turned the temp down as it was getting so dark on top. Would make a double loaf next time.
Thank you for your Feedback, Susanne! 💕
Making this now. I was not going to be home to put it in the fridge after the time it said so it was either put it in too early, wait more than 3 hours , or don’t use fridge at all. I did not put it in at all so it’s been raising on the counter. I will put into pans in a minute here.
My dough after the first 5 minute mix was very hard and dry not sticky. so I added a little milk and after the 2nd mix of 15 minutes it was exactly perfect…had just picked up the last bit of dough from the bowl on the dough hook.
So here it goes without using the fridge. I will put into a loaf pan and bake after a second rise…hopefully not too long so I can go to bed!
I was a bit concerned that thorough wasn’t as sticky as I thought it should have been, the I placed the dough in the fridge overnight it didn’t rise it actually sunk in the middle. I let it rise for over 2 hours the next day. It came out okay in the baking process. Will definitely make again.
Thank you for your honest Feedback, Cecilia! 💕
I’ve made this several times now, and it’s gotten better each time! Just had to “get to know the dough”. I found in my house it works best to let the dough come to room temp for a bit before it will do the last rise. This time I added some cinnamon since we usually use it for French toast! I’ve also noticed it works best for me in the convection oven rather than my small regular oven. Thanks for the recipe!!
Thank you for your Feedback, Melissa! 💕