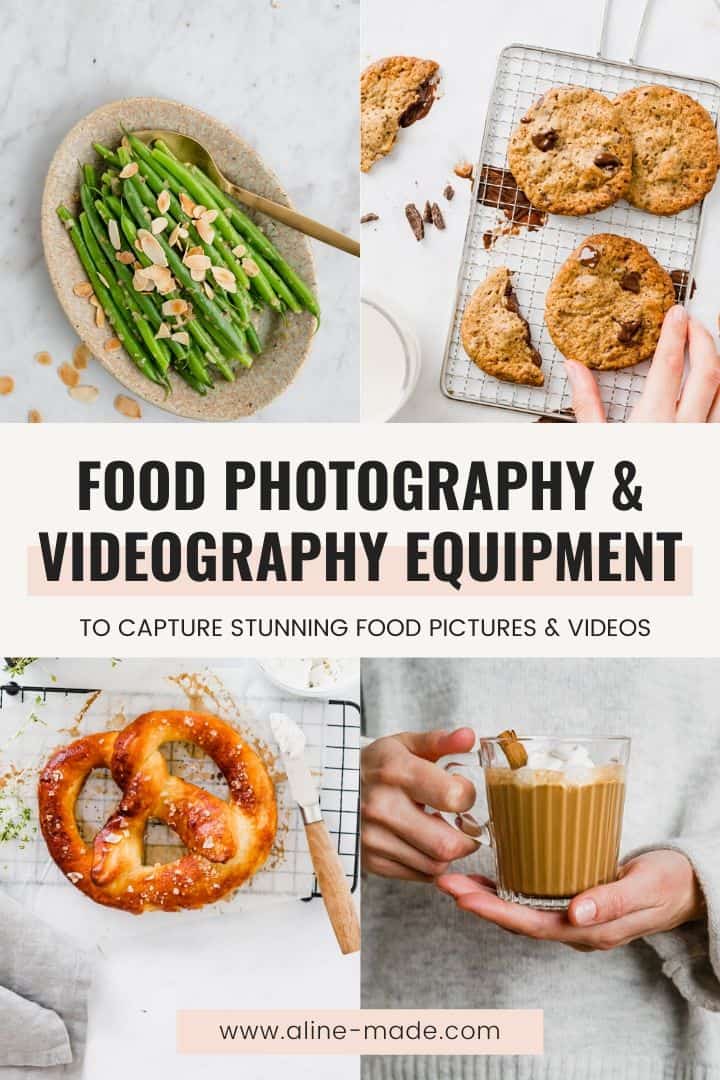
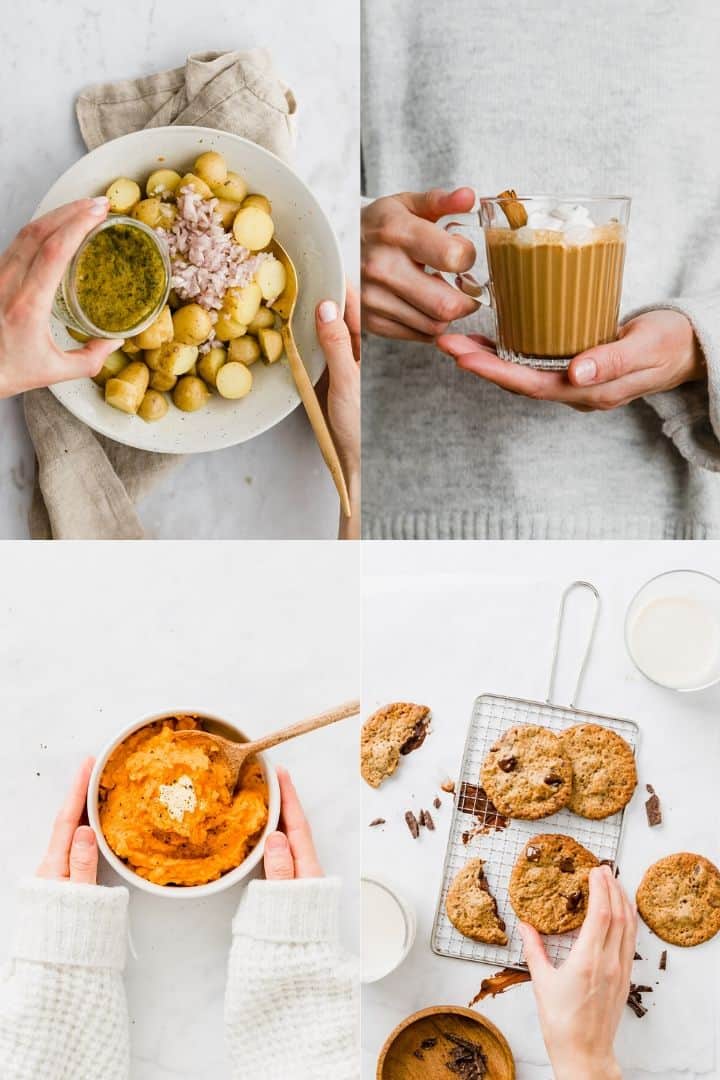
Have you ever wondered what it takes to make beautiful Instagrammable food pictures as a food blogger? Then you’ve come to the right place!

This is the list of my complete food photography equipment – from camera, lenses, to the perfect food photography backdrops. Plus, my complete food videography equipment – which is almost identical to what I use for food photography! 😉
A few food photography tips and the best resources for ambitious food photography beginners!
Cameras
Canon EOS 6D MarkII Digital SLR Camera Body – A real gem! The Canon EOS 6D MarkII is my favorite camera and one of the best cameras for food photography. It’s my primal camera I use for all my food photography and as a side camera for my recipe videos. This model is perfect if you are an advanced photographer and want to dive into the world of full frame cameras.
Canon EOS 600D – My ancient and first Canon camera. An affordable entry-level camera for food photography. This exact model is obsolete and is now known as Canon EOS Rebel T3i. I still use this body for my overhead video shots.
Lenses
Canon EF 50mm f/1.8 STM Lens – Also known as Nifty-Fifty! An affordable and great lens that every food blogger should have. Excellent for flat lays and overhead video. It was my first prime lens, which I used for all my photos for a very long time. Now I use it almost exclusively for the overhead video shots in combination with my cropped sensor camera.
Canon 100mm F2.8L Macro IS USM Lens – Woow! One of the best lens for food photography. This macro lens is something special. Especially for food photography, it is hard to imagine life without it. This 100mm lens is one of the most popular among food photographers, so it is my favorite lens. Razor-sharp pictures, shallow depth of field, and bokeh guaranteed! Meanwhile, I take almost all my photos exclusively with this macro lens. I also use it in combination with my Canon 6D to film the close-up side angles for recipe videos.
Tip: Prime lenses, i.e. with a fixed focal length, are better for food photography than zoom lenses. If you buy a new camera, I advise you to only go for the camera body and buying the lenses separately. You don’t need the kit lenses, which are coming as an offer with the body camera, they are mostly useless for beautiful food images. Start with the 50mm lens, and as soon as you can afford it, buy the 100 mm macro lens.
Accessories
SanDisk Ultra 32GB Memory Card – A fast memory card with plenty of storage space.
Reflector – A very affordable accessory that works wonders. A reflector allows you to expose your images evenly. Place the reflector on the opposite side from your light source – this will naturally brighten the darker side of the picture. Always use a white reflector for light food images, and a black one for dark, moody photos!
Manfrotto Tripod – A high-quality tripod! A bit more expensive than other models, but it is very stable, long-lasting, and won’t tip over. This tripod has an integrated center column, which is very useful for overhead photography and video recording. Most of my pictures are taken from the top, also known as flat lays, and for this, the center column is worth its weight in gold. I use my tripod for all my photo shootings, and I would also dare to say that a tripod is a must-have if you want to take your photography to the next level. It allows you to take beautiful, bright pictures even with bad lighting, without the need to turn you ISO up to +1000! Besides, motions shots like you can see in the image below become a piece of cake!

Manfrotto Joystick Head – You need this in addition to the tripod to mount your camera.
Neewer C-Stand Tripod – A kind of tripod, just much more robust. A C-Stand is very popular for food videos, and that’s exactly what I need it for.
Neewer Adapter Spigot – You only need this if you buy the C-Stand from above. These small adapters are necessary to mount your camera to the C-Stand.
Muslin Spring Clamps – Small clamps are super convenient for holding backgrounds, a reflector, or to prevent the camera strap from falling in front of the lens! 😉
Backdrops
Capture by Lucy – The best backdrops at the best price. I can recommend you those from the bottom of my heart. The only disadvantage: There are so many beautiful designs, you can hardly choose one. 😉 These are washable vinyl backdrops, which you can easily roll up and store in the cupboard. I have these designs: Grey Marble (my favorite), White Marble, and Concrete Floor.
Tip: As the backdrops are shipped from the UK, and the delivery fee is a bit pricy, I recommend ordering 2-3 different ones at once. You anyways need at least two backdrops for straight-on pictures.
email me this recipe 💌
Lighting
PIXAPRO LED200D MKII with Softbox – This is the continuous LED light (also called artificial light), which I use for all my videos and sometimes to shoot pictures. It’s super handy during winter when it’s dark outside at 4 pm. Yeah, you all know it, the struggle is real! It is not a cheap light, but it is worth its money. Especially in food photography, it’s important to have a quality artificial light. More affordable models, unfortunately, often show a slight yellow tone, which makes food look very unappetizing. LED models are, in my opinion, the best light for bloggers and can be used for photos AND videos.
Tip: If in search for an artificial light, watch out for the CRI rating. You want to aim for a light that has a CRI rating of ≥94 or higher! The higher, the better. The Color Rendering Index (CRI) indicates how accurate the light is in comparison to natural light. Meaning, the higher the number, the more natural the light is and looks. Lights with a low CRI rating are cheaper but often come with this yellow tone, which you want to avoid in food photography lighting.
Software for image and video editing
Lightroom – The best photo editing software to give your photos the perfect finish. Anyone who wants to take beautiful food images must work with Lightroom. It’s the best photo editing software on the market. A must-have as a food blogger! No discussion!
Final Cut Pro X – The video editing software I use. It’s only available for Apple devices and requires a powerful iMac or MacBook Pro. It has a steep learning curve yet is a reliable video editing software. Final Cut Pro is expensive, but it’s worth the investment. Plus, it’s a one-time payment and doesn’t require a monthly paid plan like Adobe Premiere Pro.
DaVinci Resolve 16 – If you are looking for a free video editing software, I can recommend DaVinci Resolve 16. It’s the best free video editing program available and comes with phenomenal color degradation.
External storage space
Google Drive File Stream – Online storage, which you can access from anywhere. Helpful to free up space on your computer, especially if you are working with lots of images and videos. Also excellent as a backup solution if you don’t have an external hard drive.
Courses & Resources
Food Blogger Pro -Best food blogging all-round school for blogging beginners! Even if you are blogging for a few years, some courses are worth considering. I LOVED the video crash course from Food Blogger Pro! One of the best courses I have ever taken. It is worth every dollar and helped me starting to film my own recipe videos. The tutorials are so helpful and saved me a lot of time figuring it out by myself. HIGHLY RECOMMENDED!
The Bite Shot YouTube – Free resource to learn from the talented Food Photographer Joanie Simons! I love her videos – she is authentic, always to the point, and reveals all her tips & tricks. Make sure to check out her “The Bite Shot” Facebook group.


Comments
No Comments