Making homemade pita bread is easy and allows you to create pitas just the way you like them! Delicious with dips, salads, or as stuffed pita pockets!
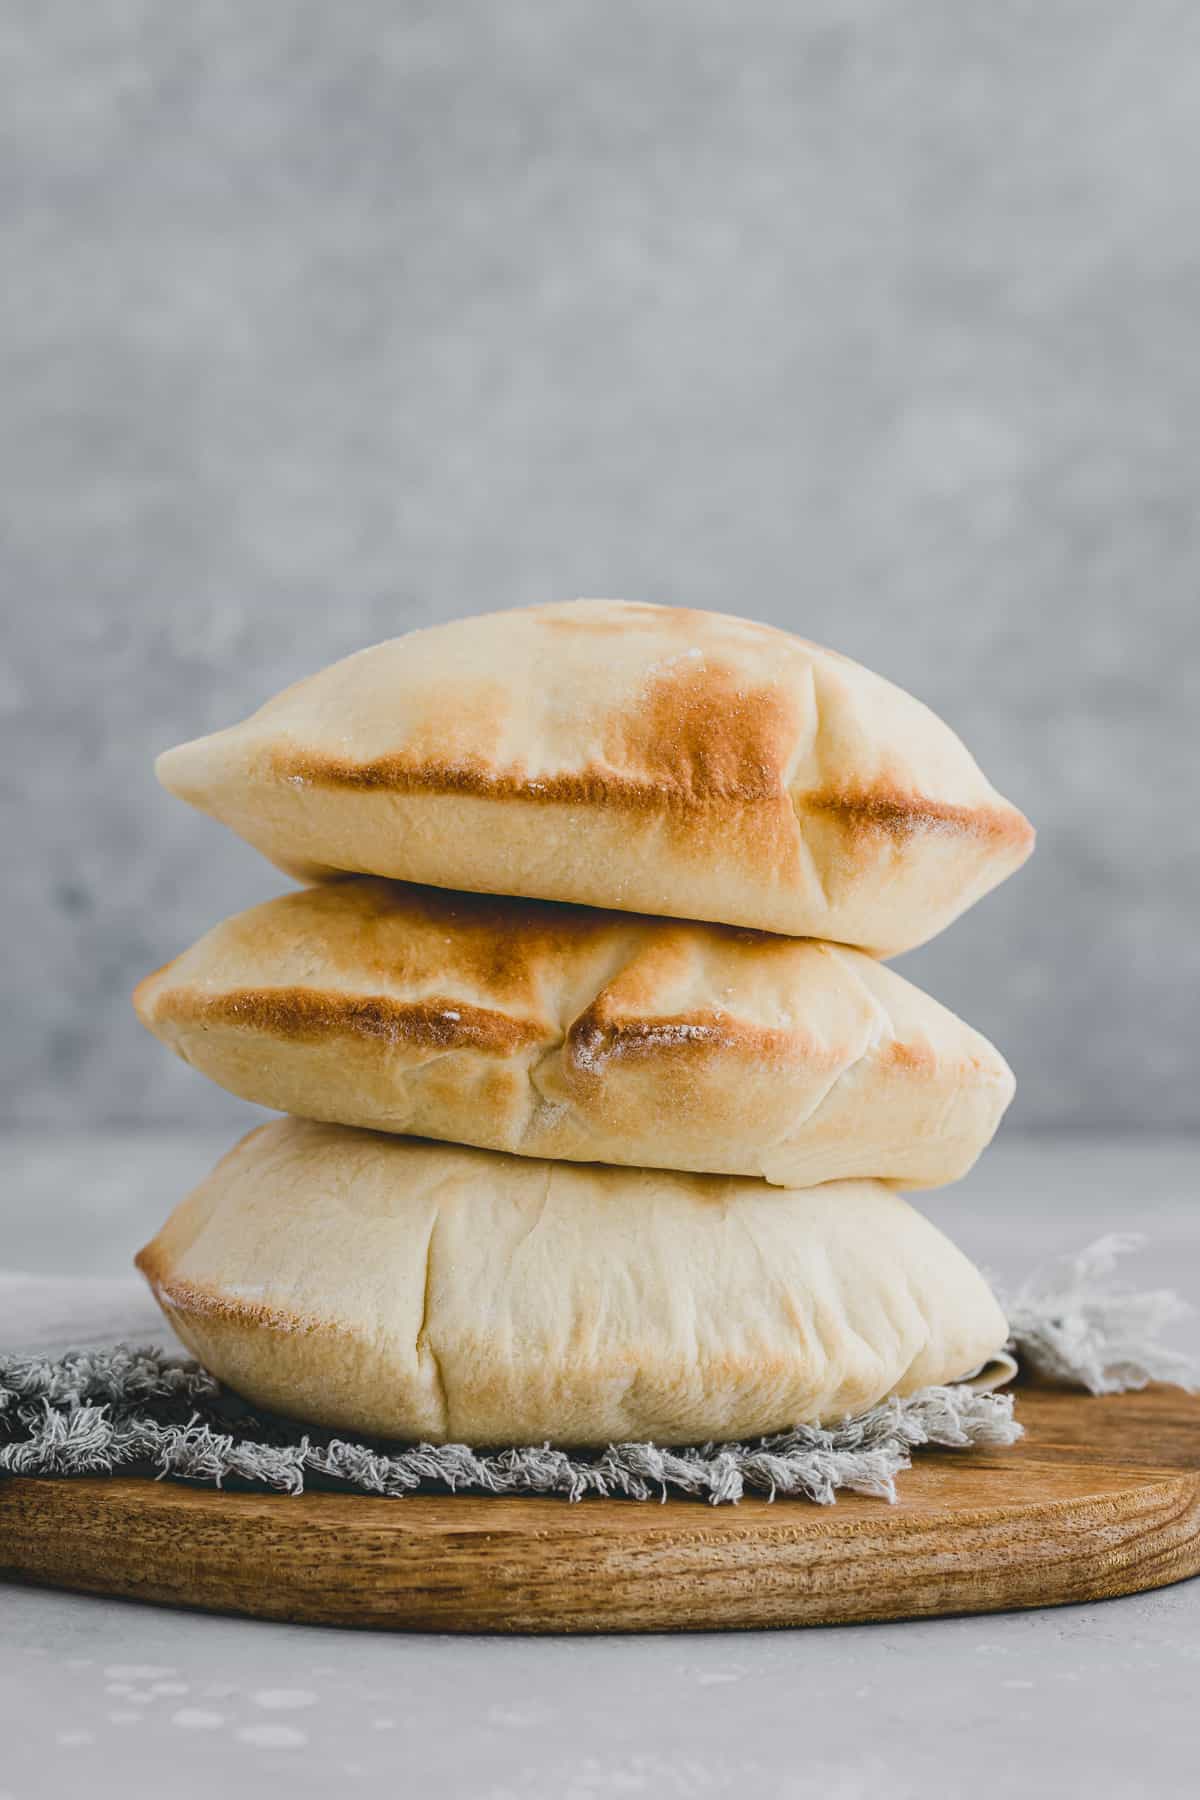
Table of Contents
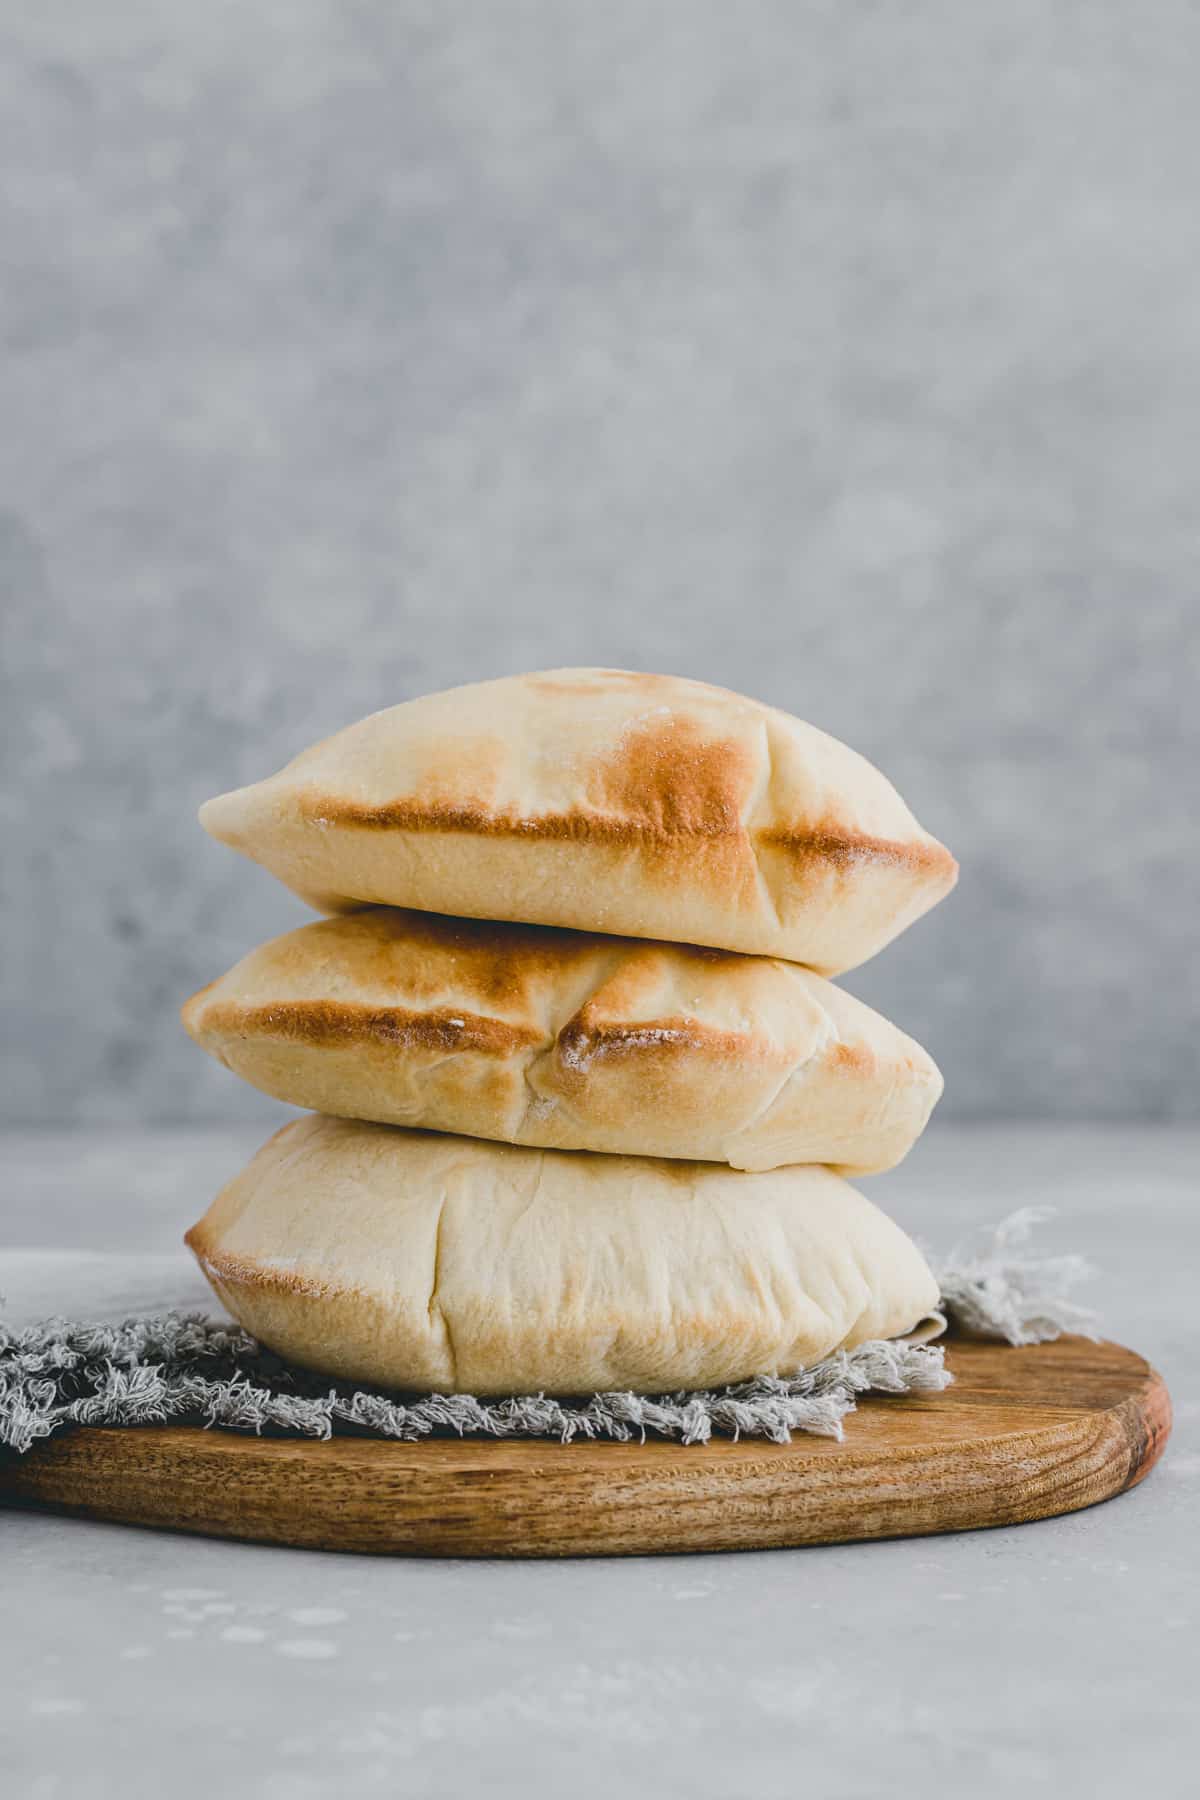
Pita is a soft flatbread made from salty yeast dough that is common in the Mediterranean, Middle East, and neighboring areas. It can be served as a side dish with dips, salads, or even as stuffed bread pockets. In the summer, they taste wonderful as a barbecue side dish.

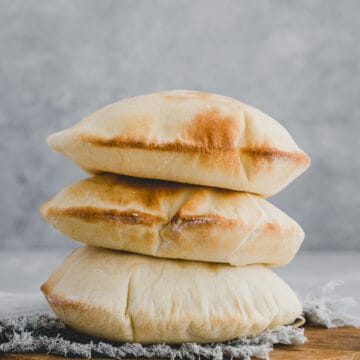
Making this pita bread recipe at home is easy, but a bit time-consuming. Nevertheless, all the effort is worth it. Because homemade pita are worlds better than store-bought pita. They can be enjoyed directly warm from the oven, are fluffy, and at the same time crispy. Plus, they are much fresher than the ones from the grocery shop. Once you see how easy it is to make, you won’t buy them again!
Oven vs Pan
There are two different ways to bake pita dough: in the oven or in a pan.

In the oven, they are preferably baked on a hot pizza stone or baking sheet so that they puff up beautifully and form that typical airy pocket.
Or you can fry them in a hot skillet, preferably a cast iron skillet, with a splash of olive oil. This makes them a little oilier with a beautiful roasting flavor.
In my experience, however, they don’t puff up quite as nicely in the pan as they do in the oven.
Another winning point for the oven is that you can bake two or more (depending on the size of your pizza stone) at the same time. In the pan, you have to fry them one after one.
I love both versions! If you use them for dipping, go with the skillet. If you want to fill them, use the oven to ensure they build pockets.
However, I will show you both methods in the recipe. Try both and decide which one tastes better and is easier for you to make going forward.
Hint: In summer, you can also bake them on a hot grill!
🛒 Ingredients
See recipe card for quantities.
email me this recipe 💌
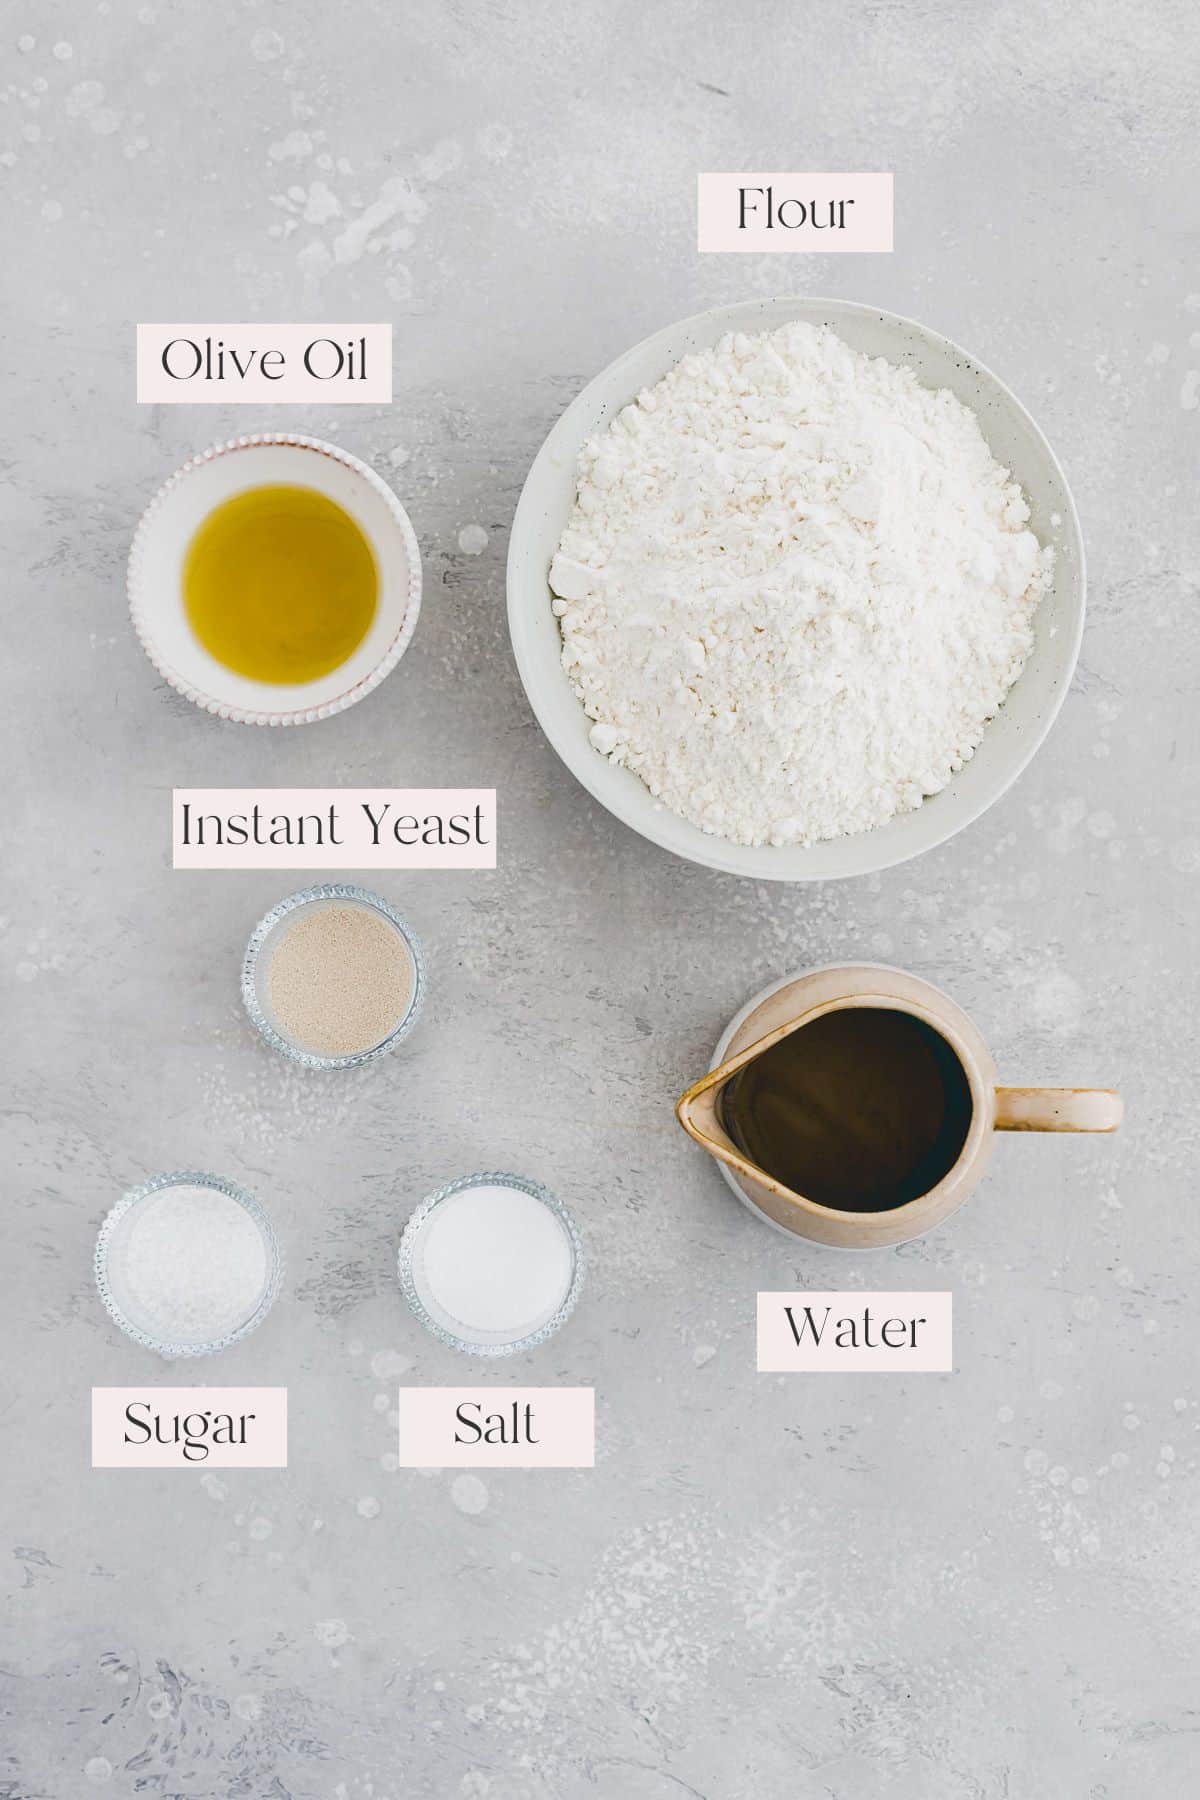
- All Purpose Flour → Or spelt flour. If using whole wheat flour, add some more warm water if the dough gets too dry while kneading.
- Instant Yeast → So that the dough rises nicely! Works too with active dry yeast.
- Water → Should be lukewarm.
- Salt → Aromatic bread needs a good pinch of salt, use kosher salt or sea salt for best results.
- Sugar → Ensures that the dough rises a little better. Can be omitted to make it sugar-free.
- Olive Oil → Makes the dough a little smoother.
👩🍳 Visual Step-by-Step Instructions
This visual step-by-step instruction will help you along the way – definitely recommended if you’re a baking beginner! 😉
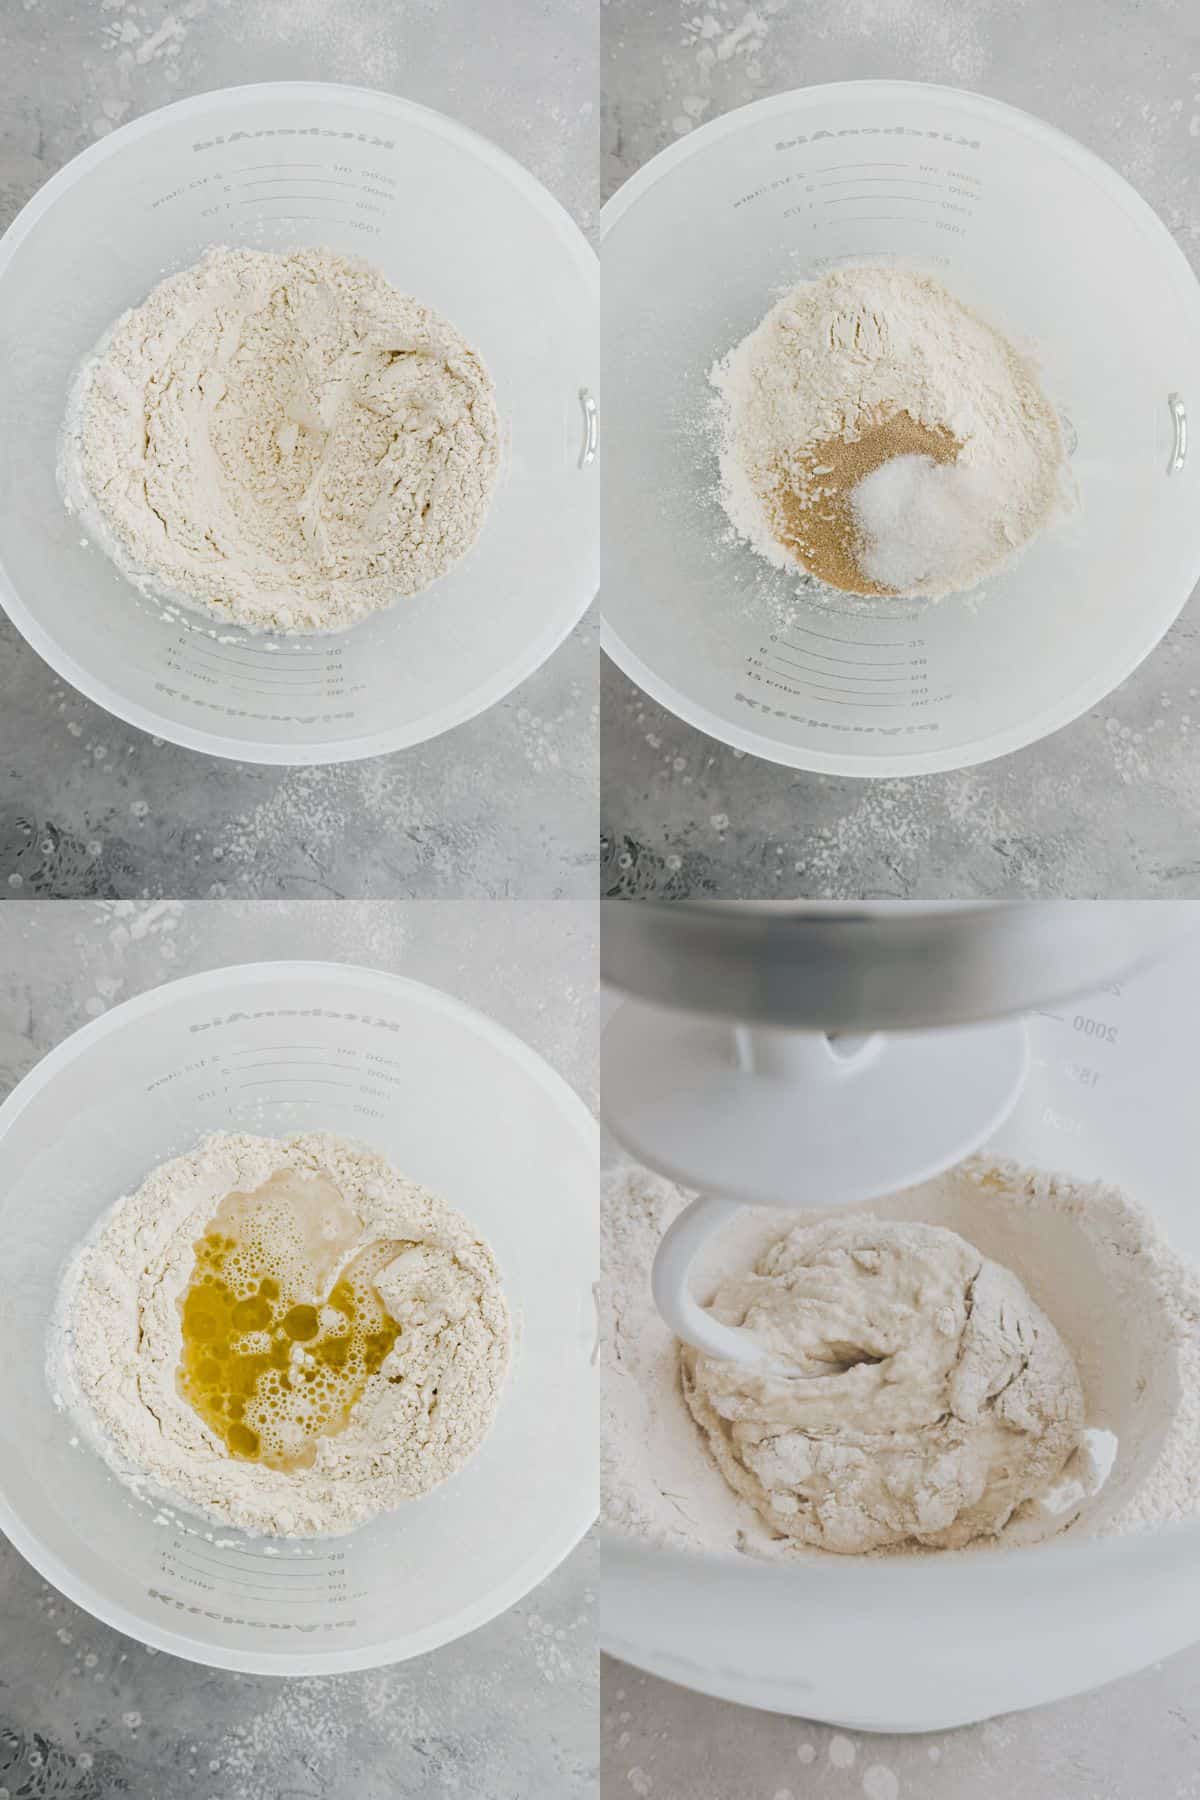
- In the bowl of a stand mixer, mix flour, instant year, salt, and sugar. Make a well in the center and pour in the lukewarm water and olive oil. With the dough hook attached, knead for 5-10 minutes on low speed until you have a smooth dough.
- Cover with a damp tea towel (or plastic wrap), and let it rise at room temperature for one hour.
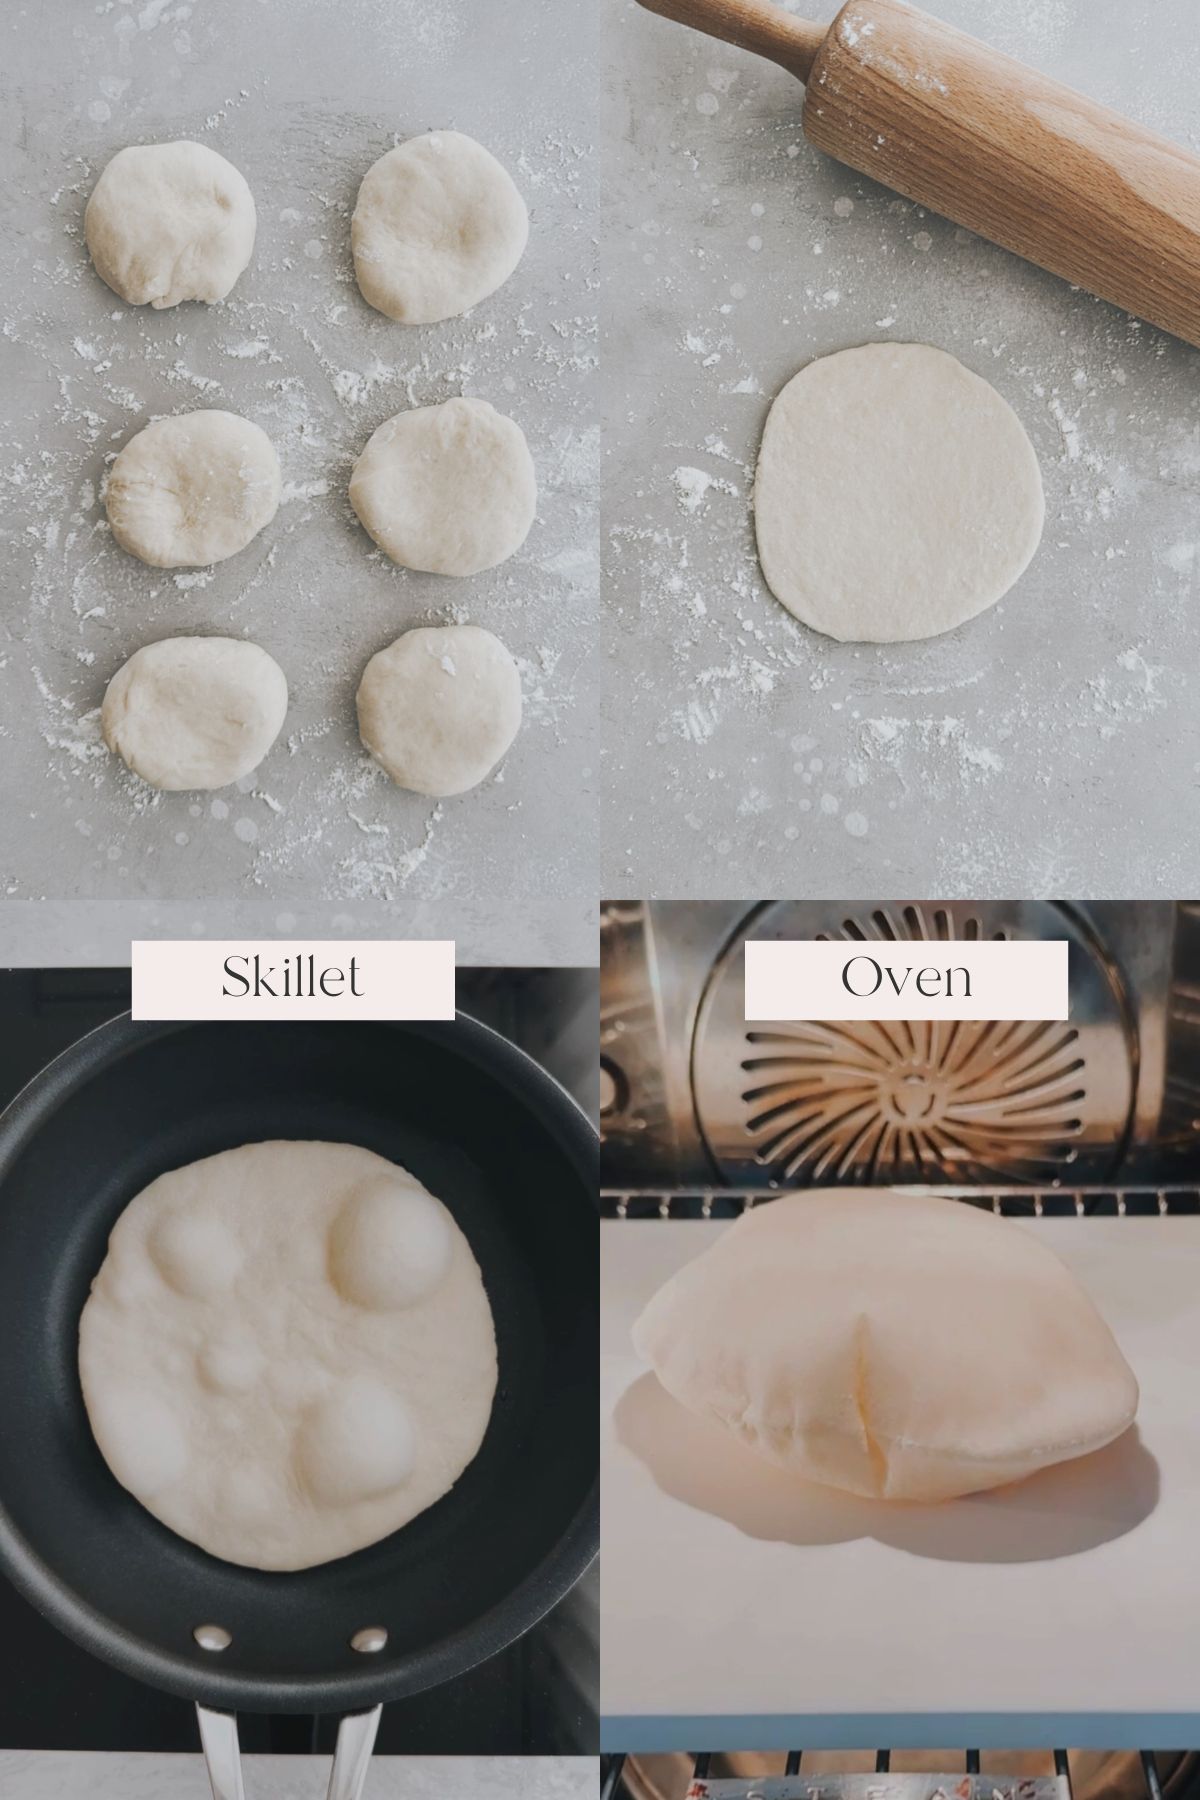
- Transfer the dough to a lightly floured surface and divide into 6 equal portions (I recommend using a kitchen scale). Shape each piece into a ball, then flatten the dough balls with the heels of your hands. Cover with a damp kitchen towel and let rest for 10 minutes.
- Roll them out into 6-inch (15 cm) circles using a rolling pin. Cover and let them rest for another 10 minutes.
- Oven Method*: Preheat the oven together with a pizza stone or baking sheet to 445°F (230°C) for at least 20 minutes. Once hot, add two or more (how many as fit) pita circles on the hot pizza stone and bake for 5-6 minutes. Remove from the oven and keep warm in a clean kitchen towel.
- Skillet Method: Heat a skillet with a splash of olive oil. Fry each pita on both sides for 1-2 minutes until golden brown. The hotter the pan, the more they puff up, but don’t burn them!
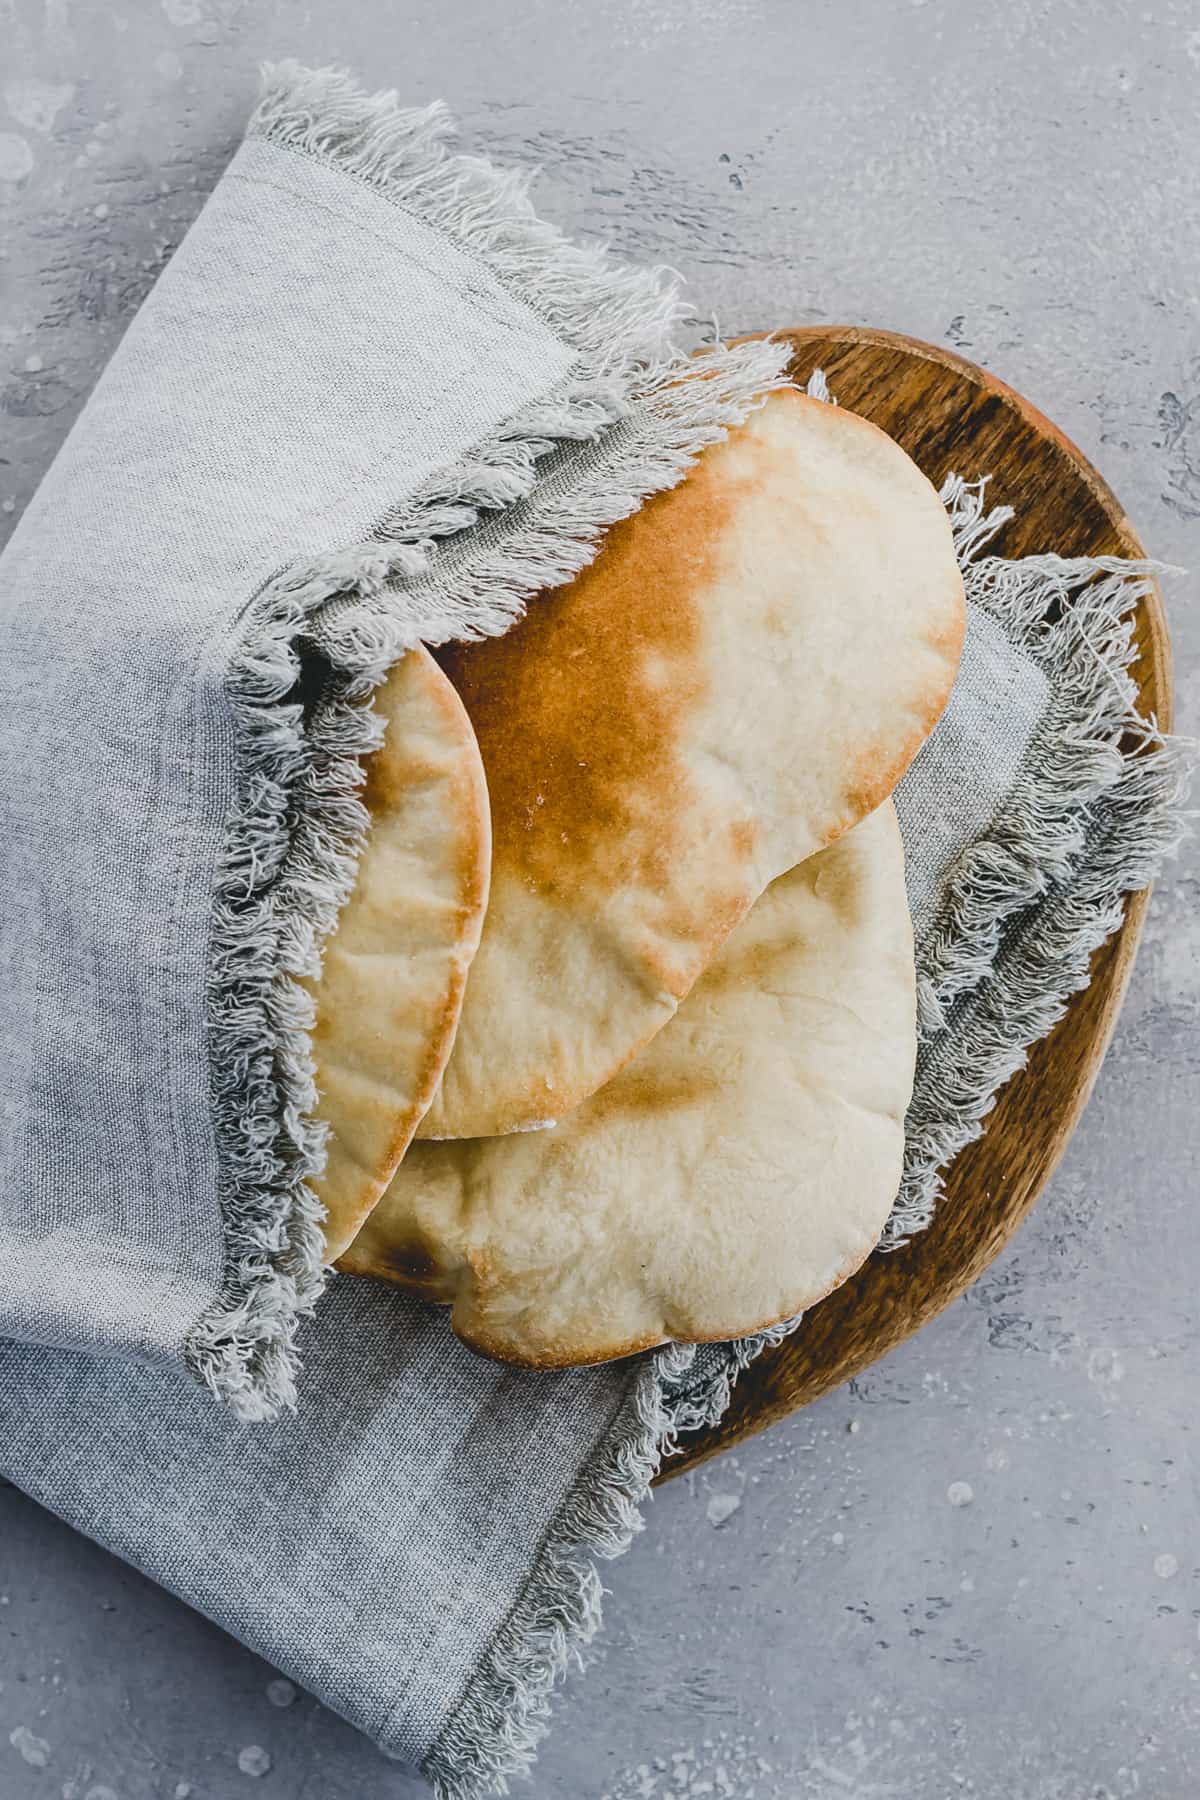
- Serve the pita warm!
*Hint: It works best using a pizza stone. A baking sheet is a valid option too, alternatively, bake them on an oven rack but don’t expect them to puff up quite as nicely.
🥯 Serving Suggestion
Here are some ideas on how to serve homemade pita bread:
- For an apéritif with this feta dip, hummus, guacamole, or tzatziki sauce
- As a side dish with Greek salad
- Fill them as pita pockets with lettuce, tomatoes, crunchy veggies (carrot/cucumber/onion), protein (e.g. baked chickpeas), or ingredients of your choice
- Use them to make pita wraps, homemade gyros, falafel pita sandwiches, or pita chips
- For breakfast with Shakshuka
- Sweet with raspberry jam or chocolate spread
🧊 Make Ahead, Storage & Freezing Instructions
Make Ahead: Prepare the dough until the first rising time, then store it in an airtight container in the refrigerator for up to 24 hours. When you are ready, let the cold dough sit at room temperature for a few minutes, then shape the dough according to the recipe, and bake! → You can also split the dough and make half of the pitas today, and half of them the next day.
Store: Keep warm pita bread wrapped in a clean kitchen towel. Store the remaining pitas in a plastic bag at room temperature for a maximum of 2 days, reheat before serving.
Freeze: Freeze pita in a freezer bag for a maximum of 3 months. Defrost in the oven or toaster.
If you make this recipe, I’d love for you to give it a star rating ★ below.
Please follow me on Instagram, Pinterest, and Facebook or sign up for my free newsletter to never miss the newest recipes. I would be thrilled to welcome you to my community & thank you so much for your support! 💕
📖 Recipe
Homemade Pita Bread
email me this recipe 💌
Ingredients
- 2 ½ cups all purpose flour
- 2 teaspoon instant yeast, or active dry yeast
- 1 teaspoon sea salt
- 1 teaspoon sugar
- ⅔ cup water, lukewarm
- 2 tablespoon olive oil
Instructions
- In the bowl of a stand mixer, mix flour, instant year, salt, and sugar. Make a well in the center and pour in the lukewarm water and olive oil. With the dough hook attached, knead for 5-10 minutes on low speed until you have a smooth dough.
- Cover with a damp tea towel (or plastic wrap), and let it rise at room temperature for one hour.
- Transfer the dough to a lightly floured surface and divide into 6 equal portions (I recommend using a kitchen scale). Shape each piece into a ball, then flatten the dough balls with the heels of your hands. Cover with a damp kitchen towel and let rest for 10 minutes.
- Roll them out into 6-inch (15 cm) circles using a rolling pin. Cover and let them rest for another 10 minutes.
- Oven Method: Preheat the oven together with a pizza stone or baking sheet to 445°F (230°C) for at least 20 minutes. Once hot, add two or more (how many as fit) pita circles on the hot pizza stone and bake for 5-6 minutes. Remove from the oven and keep warm in a clean kitchen towel.
- Skillet Method: Heat a skillet with a splash of olive oil. Fry each pita on both sides for 1-2 minutes until golden brown. The hotter the pan, the more they puff up, but don't burn them!
- Serve the pita warm!